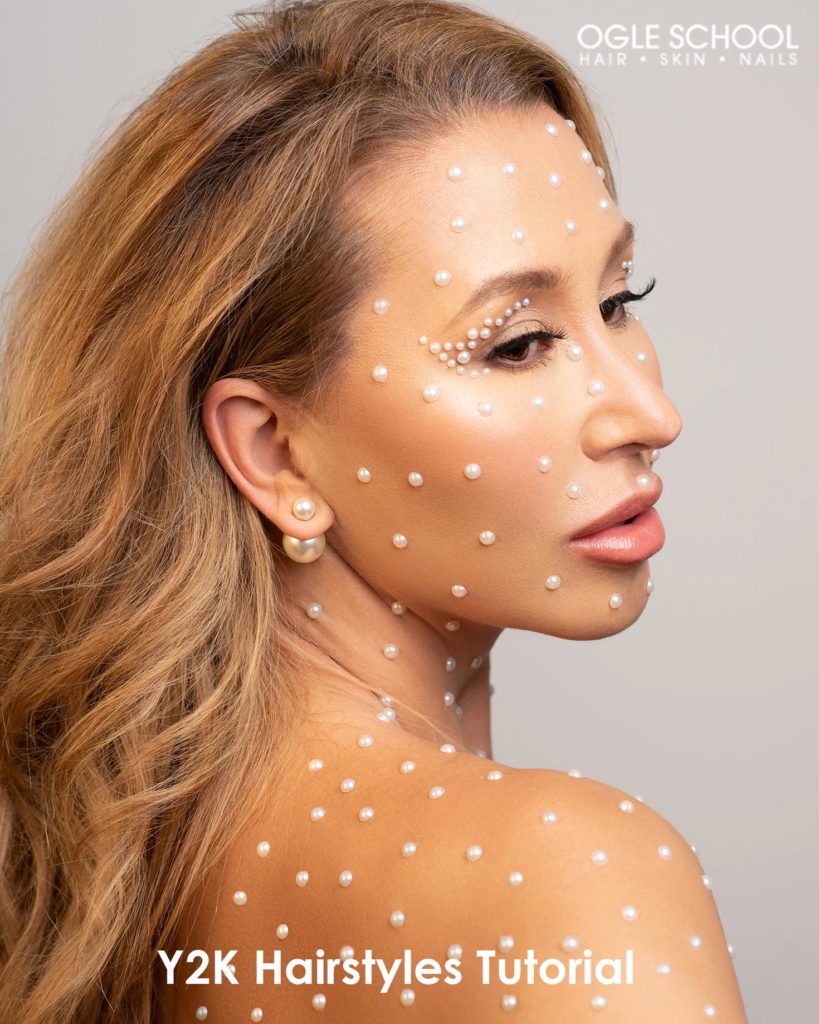
Bedazzle your full face makeup with pearl swirls and patterns with Ogle School’s easy step-by-step tutorial.
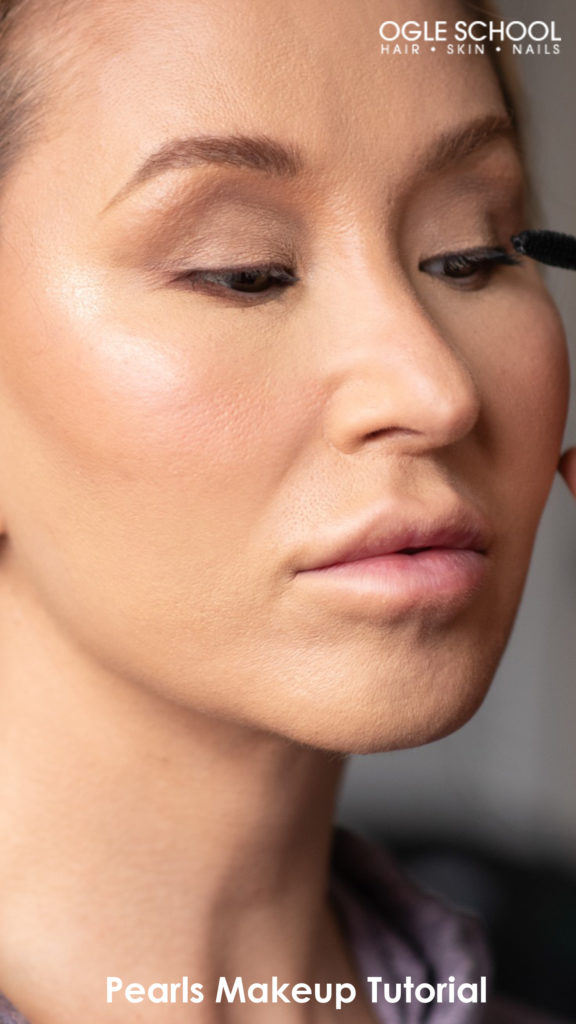
Photographer: Leire Baztarrica
For the eyeshadow, foundation and blush, apply a neutral base. Before you get started, work out ideas for the design you want in your sketchbook. Once you’ve developed the final plan on paper, you can create the look. If you work better while improvising, you can skip this step and let your creative juices flow. The pearls will bring attention to your favorite features.
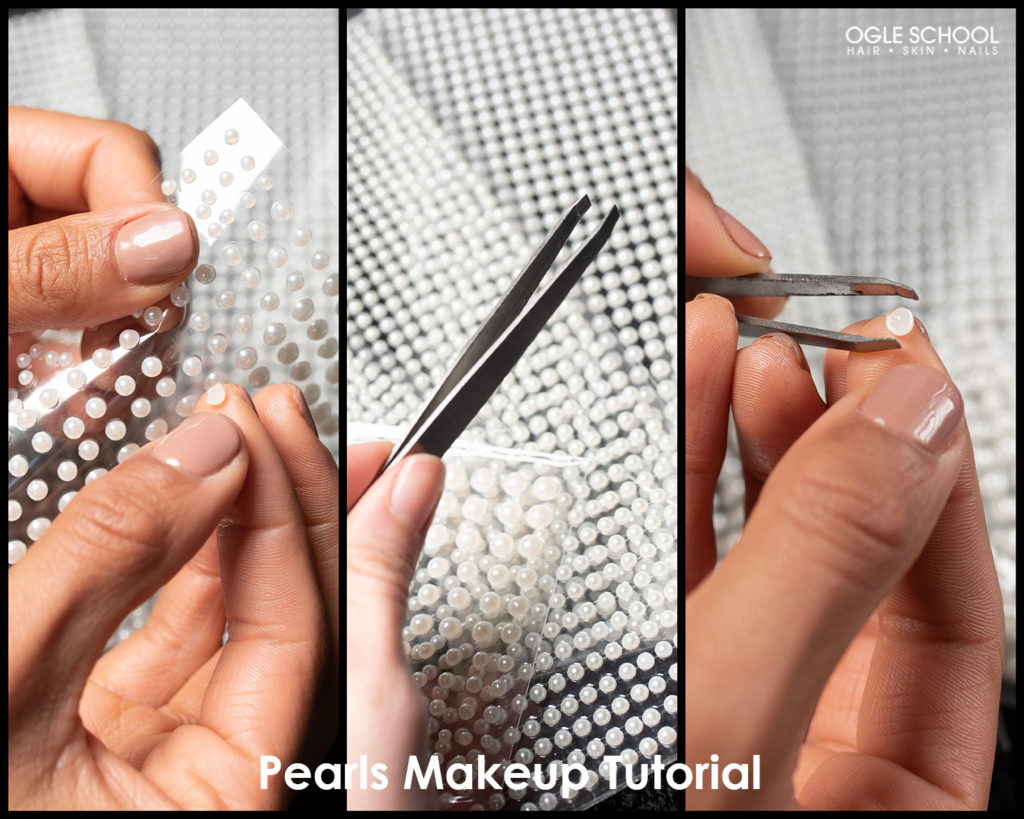
Use self-adhesive pearl stickers in different sizes to create beautiful shapes and patterns. Other materials you’ll need include a tweezer for applying and a notebook and pen for sketching designs pre-application. Sort your pearls by size and begin applying the pearl pattern delicately, starting with the eyes.
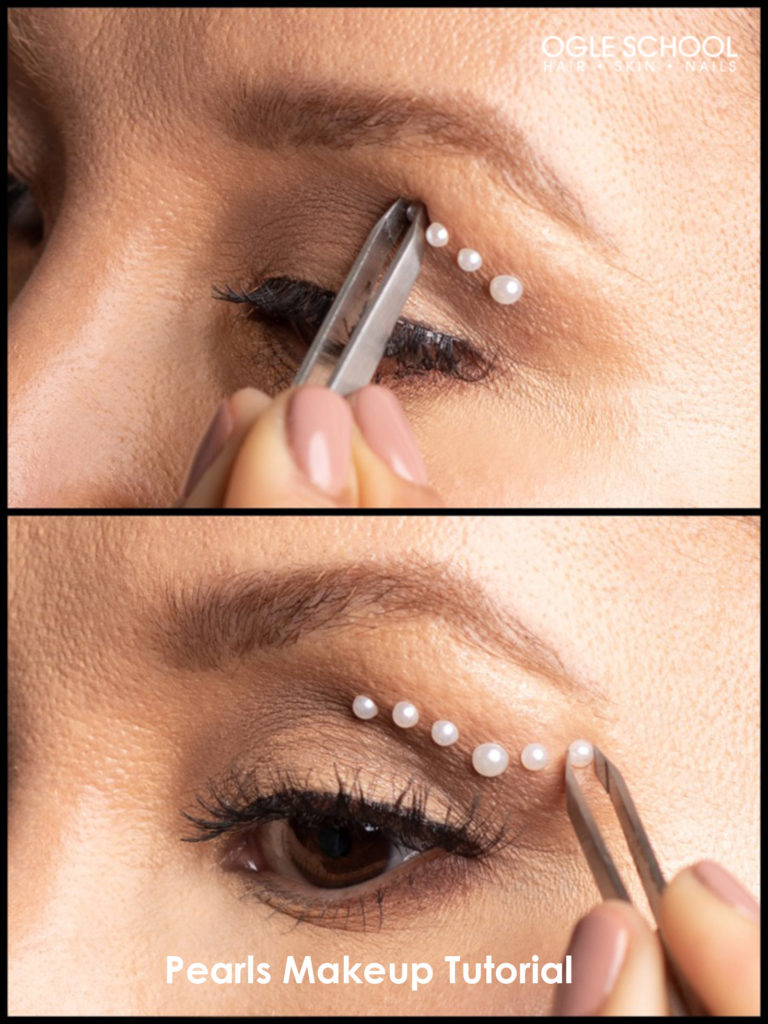
Repeat the same pattern on the other eye. Mirror the design on the first eye to ensure that both designs look identical and symmetrical. Accentuate the shape of your eyes by creating a cat eye-inspired design, or create a softer, whimsy look by using the pearls more sparingly and applying them around the upper and lower lid of the eyes.
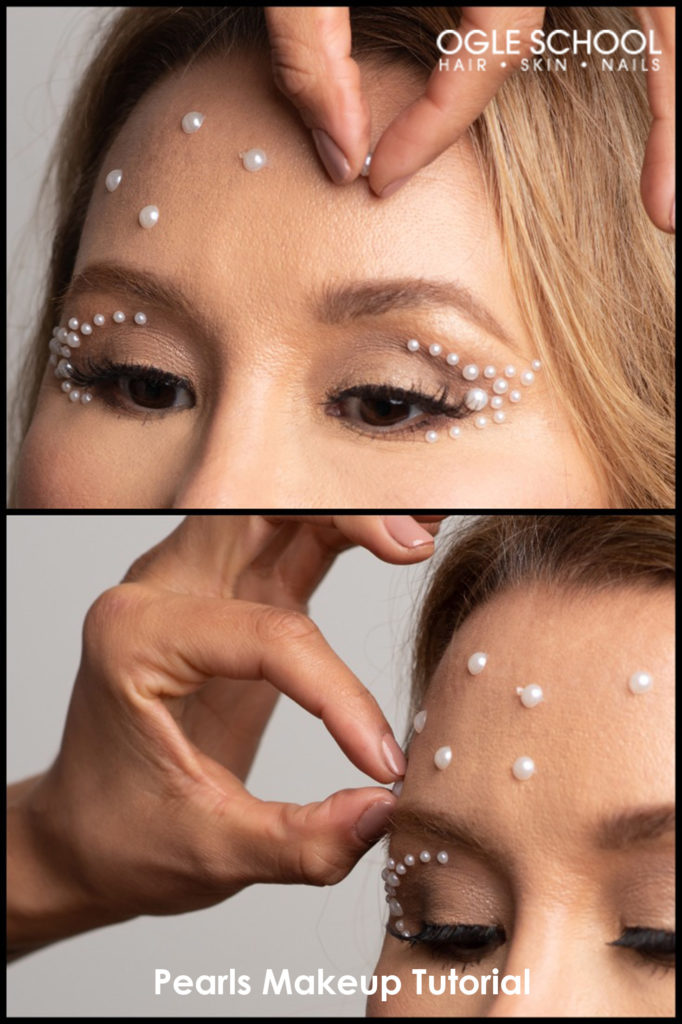
Modify the size of pearls. The key to a dreamy pearl-studded full face is to vary the size of the pearls when creating the pattern: the smaller the pearl, the more delicate and whimsical the result. Use the same pearl size for a stunning uniform look while applying the pearl-festooned design over the face.
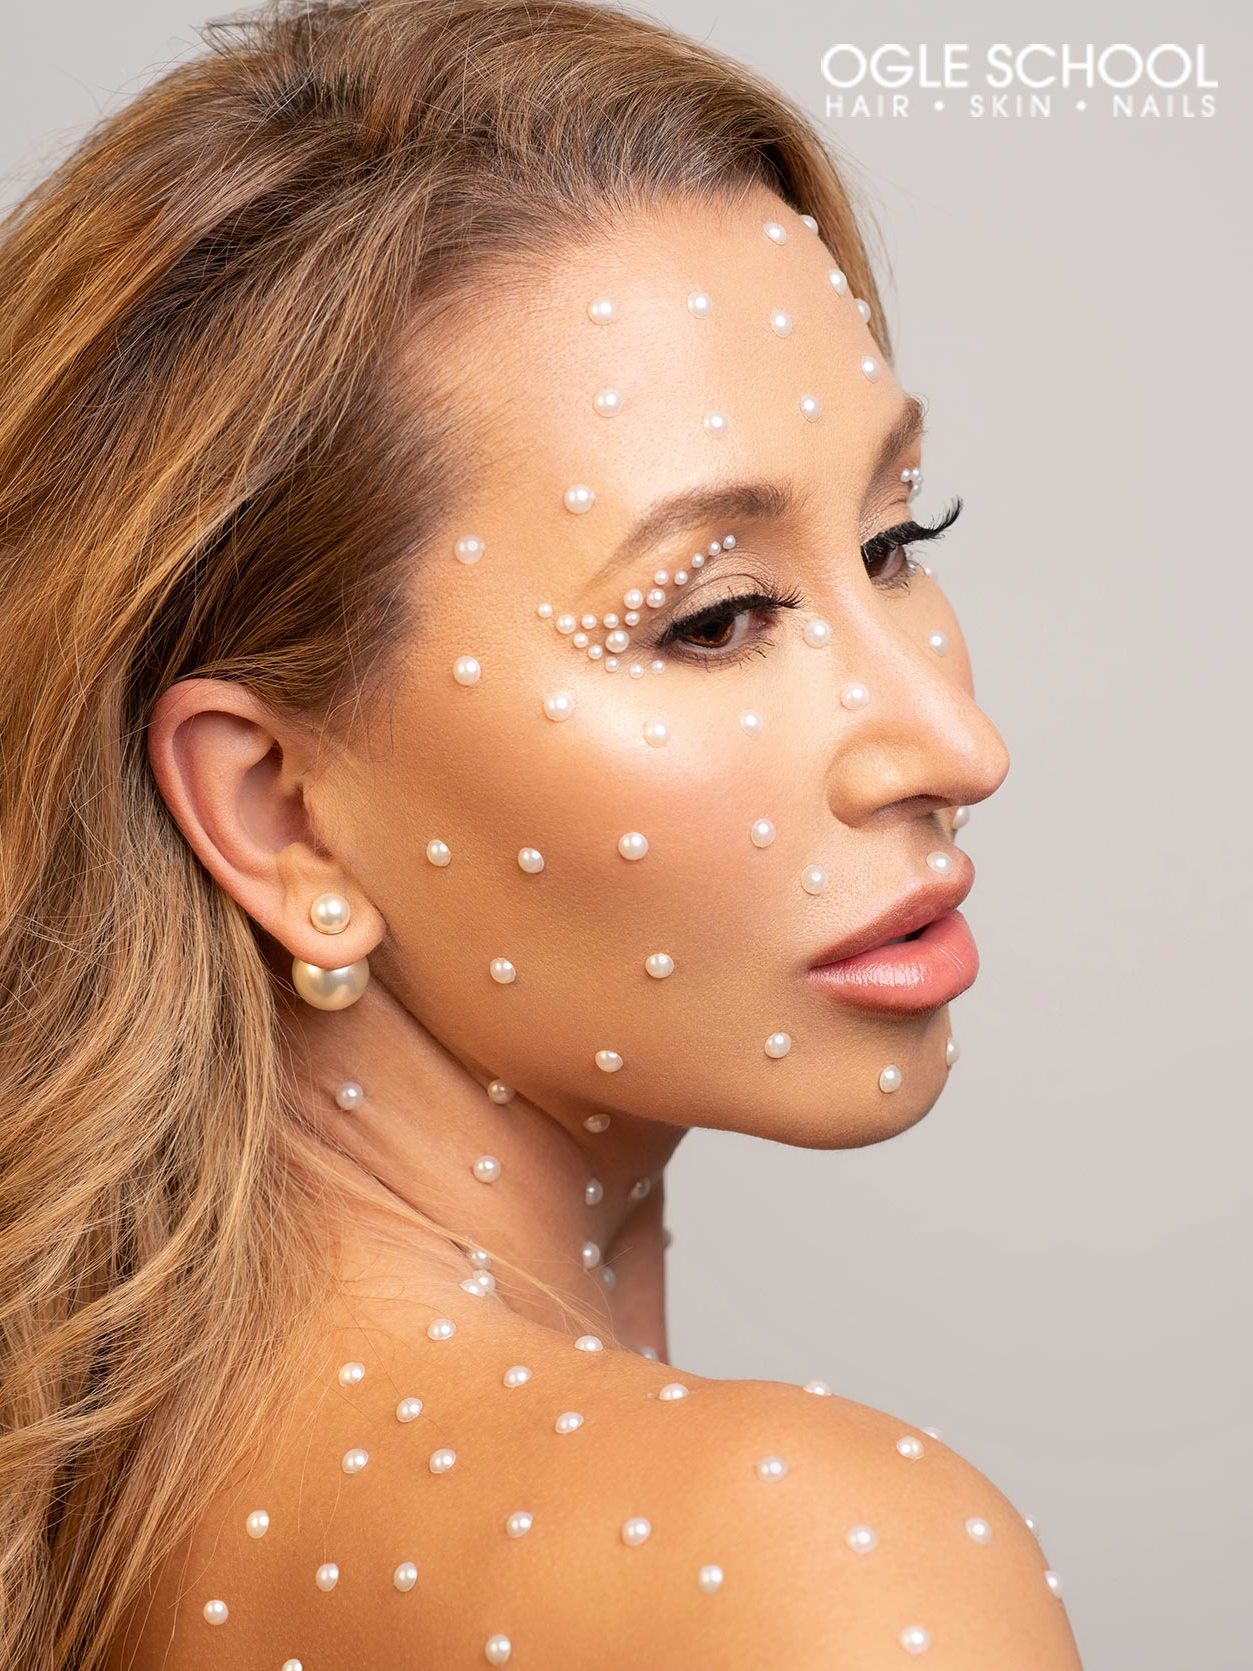
Continue the design around the shoulders and back area to draw the eye to the neckline and face for the final look.
Tip: Crop any excess pearl plastic with small sewing scissors.
Follow the Ogle School blog for more inspiration and beauty insider tips.


