Have you always wanted to create a French braid but felt daunted by the task? Not to fear—our team of professionals can guide you step by step through any process that is hairstyle-related. The French braid can be youthful, sporty, and fun. Mostly, it’s perfect if you’re on day two or three of unwashed hair, on a camping trip, or ready to hit a hot yoga class.
French Braid before and after:
Learn how to create French braids pictured in the before-and-after.
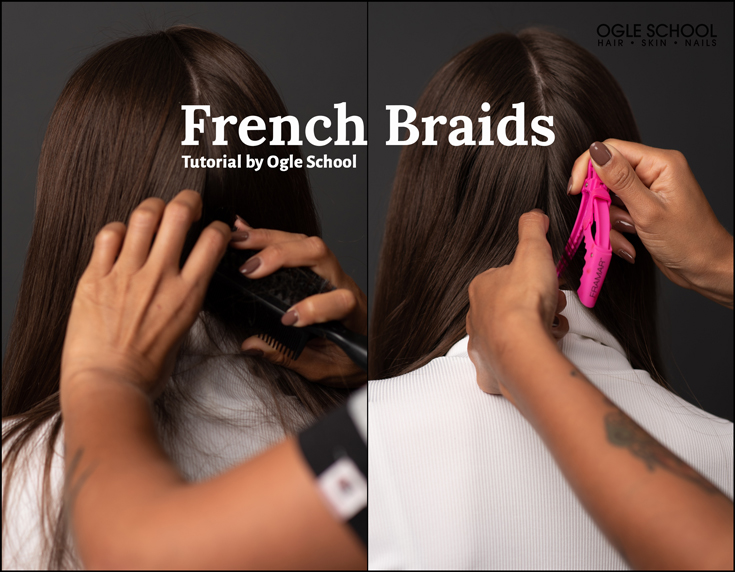
Comb and part:
Ideally, you want your hair to be unwashed for added texture to hold the braids better. Using a comb or detangler brush, smooth out your hair and create a clean part from the front to the head to the nape.
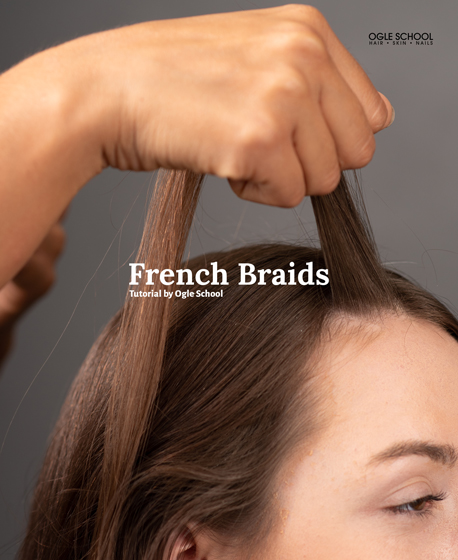
Gather three sections:
Gather three separate sections of hair and stretch downward until all three are close to the head and taut. If you attempt to braid the sections away from the head, the braid will look loose, sloppy and not follow a straight line. The trick to a polished French braid is braiding close to the head with a slightly tight grip, starting from the temple to the nape. As you braid, you will need to add more hair into each section to keep the thickness evenly distributed and gradually gather all of the hair into the plait.
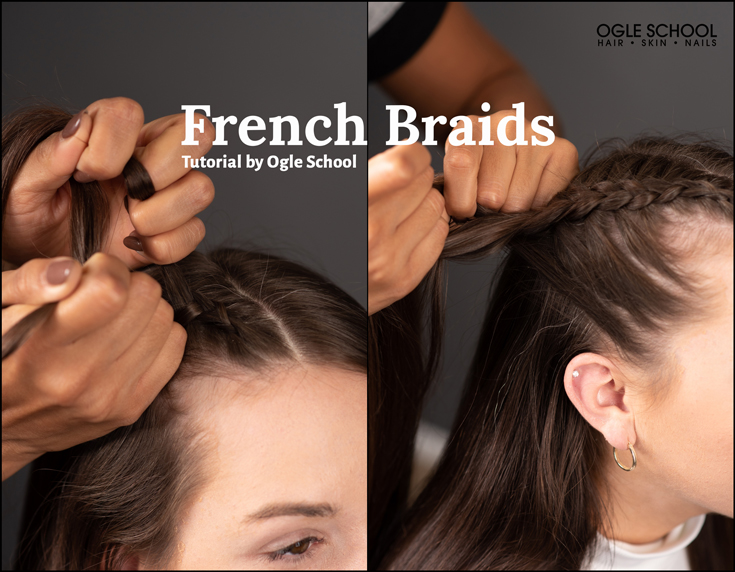
French braid from the temple:
With your fingers, gather three proportionate sections of the hair. Take the left section of the hair and cross it over the middle section. Take the right section of hair and cross it over the middle. Once the left strands are crossed over and into the center strands, they become the middle, and likewise for the right hair strands. Follow this pattern while adding more hair to each section. Each section should have the same thickness for a perfect braid.
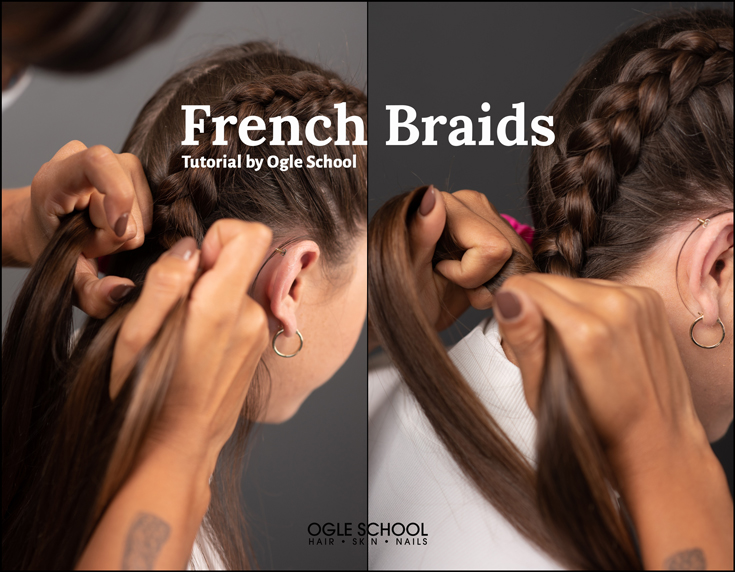
The tighter you hold the hair at the end of the plait, the tighter the braid will be. As a rule of thumb, you want the braid to be relatively tighter near the front of the head and start to gradually loosen at the crown. Continue braiding the sections close to the head as you pull more strands equally into each section.
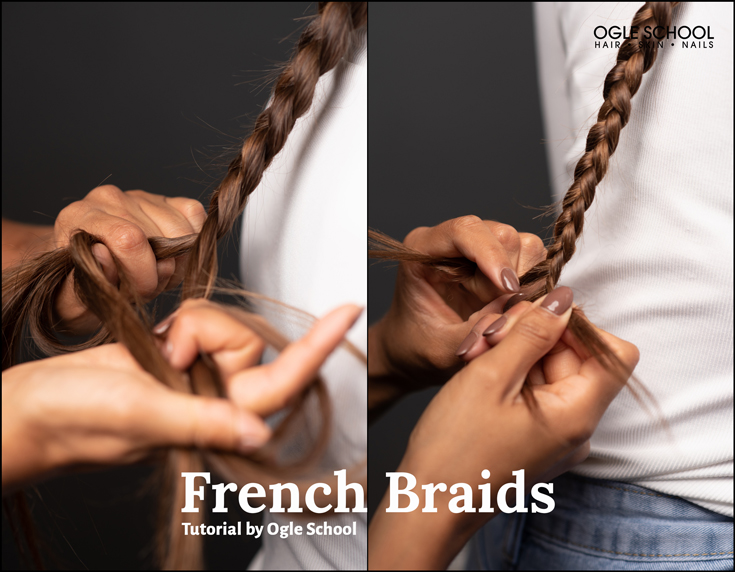
Finishing up the braid:
If you prefer the look of a tighter braid, keep the hair taut and hands close to the end of the plait. If you prefer a looser, thicker appearing braid toward the end, keep the braid less stretched and the hands further from the end of the plait.
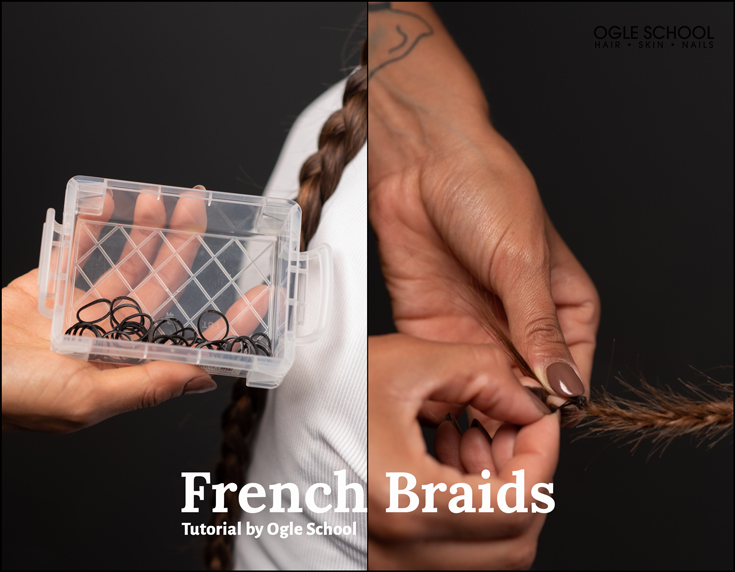
Secure the braid:
Wrap a rubber band around the end of the braid. If you want natural unplaited hair to hang loosely from the braid, wrap the band a few inches above the end of the hair. Loosen the end of the braid by shaking the braid.
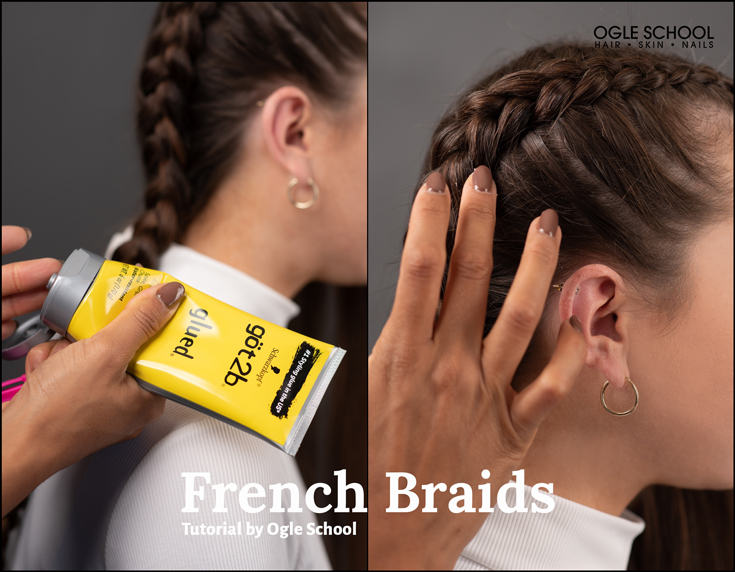
Finish with a holding product:
A quality salon styling product will help complete the look of a French braid. Finish with a holding styling product for a long-lasting French braid and lustrous-looking finish.
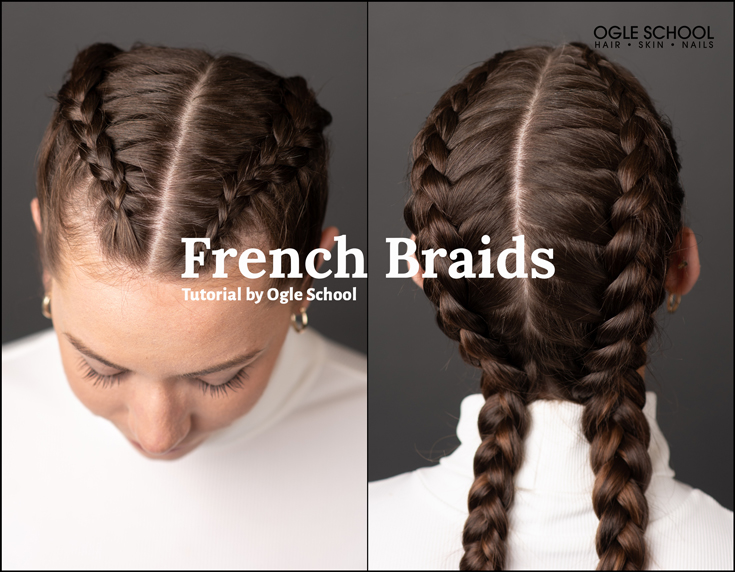
The final look: The finished look is stunning and polished looking. These plaits are on the tighter side. If you’re looking for looser tendrils around the face and a loose braid overall, that can still be achieved with French braids. If you want to take your skills to the next level, consider enrolling into our cosmetology program. Our admissions team is ready to help assist you in taking the first step towards a rewarding career in the beauty industry.
For more hair inspiration, visit our blog at Ogle Hair School Blog.


