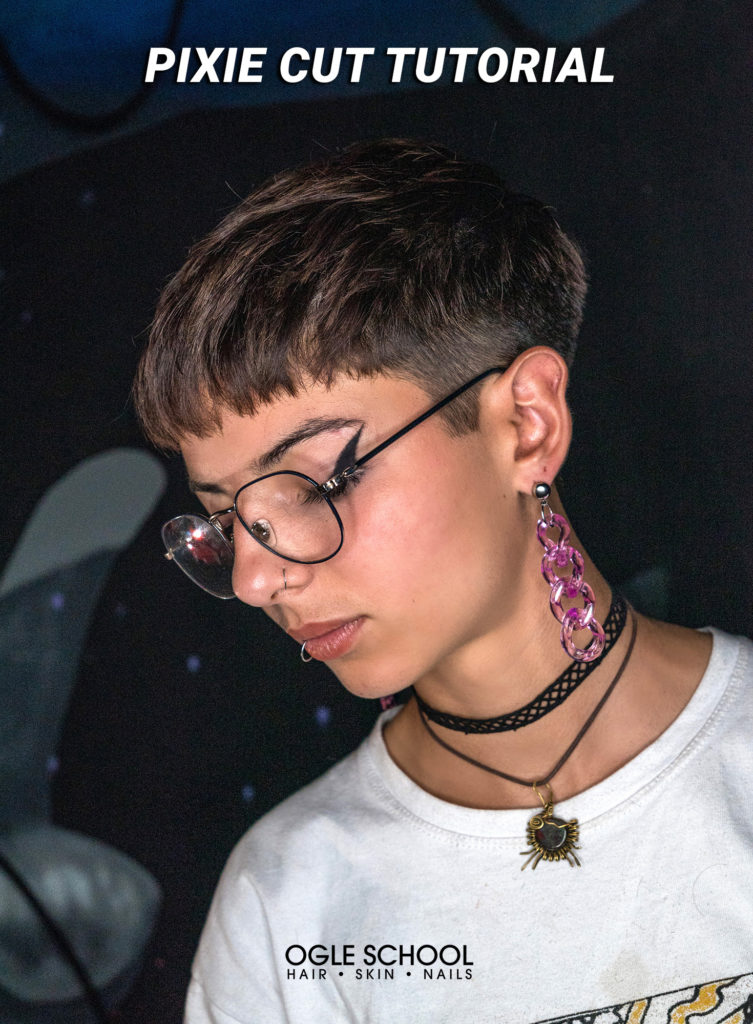
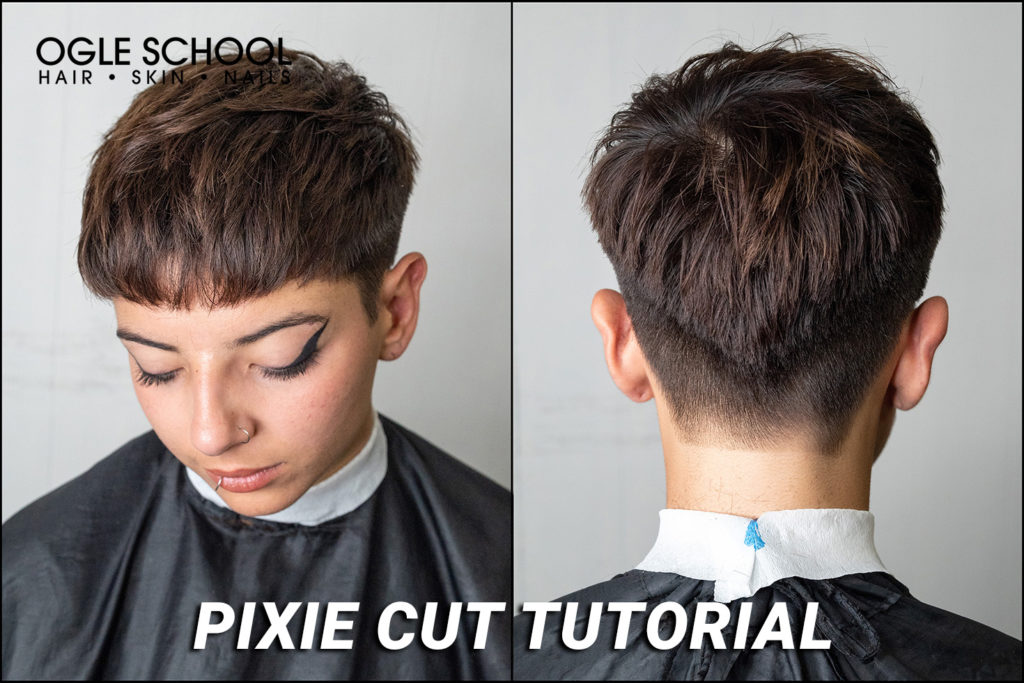
The pixie cut is a refreshing, sexy and sultry style, perfect for any season. Debuting this short haircut is ideal if you want to show off your face, neck and shoulders. Plus, this cut is easy to style for any occasion. Our tutorial will walk you through achieving a blended, well-chiseled pixie cut.
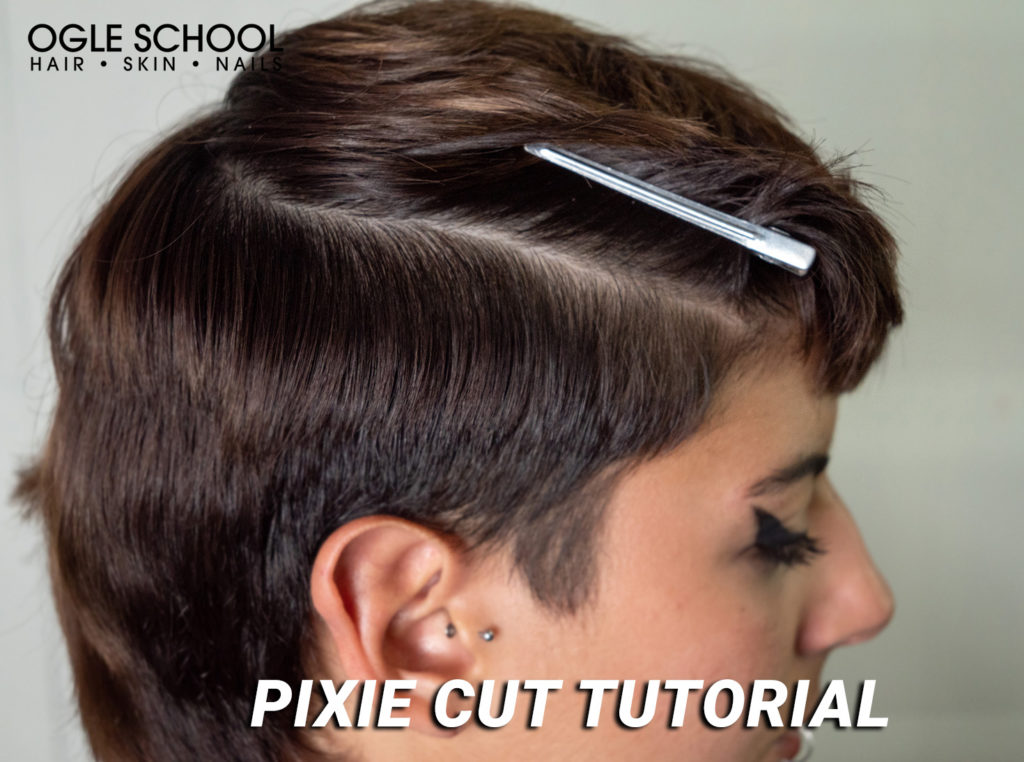
Step One: Divide the hair into sections by tracing a horseshoe line on the top of the head. Secure the top part of the hair with a sectioning clip.
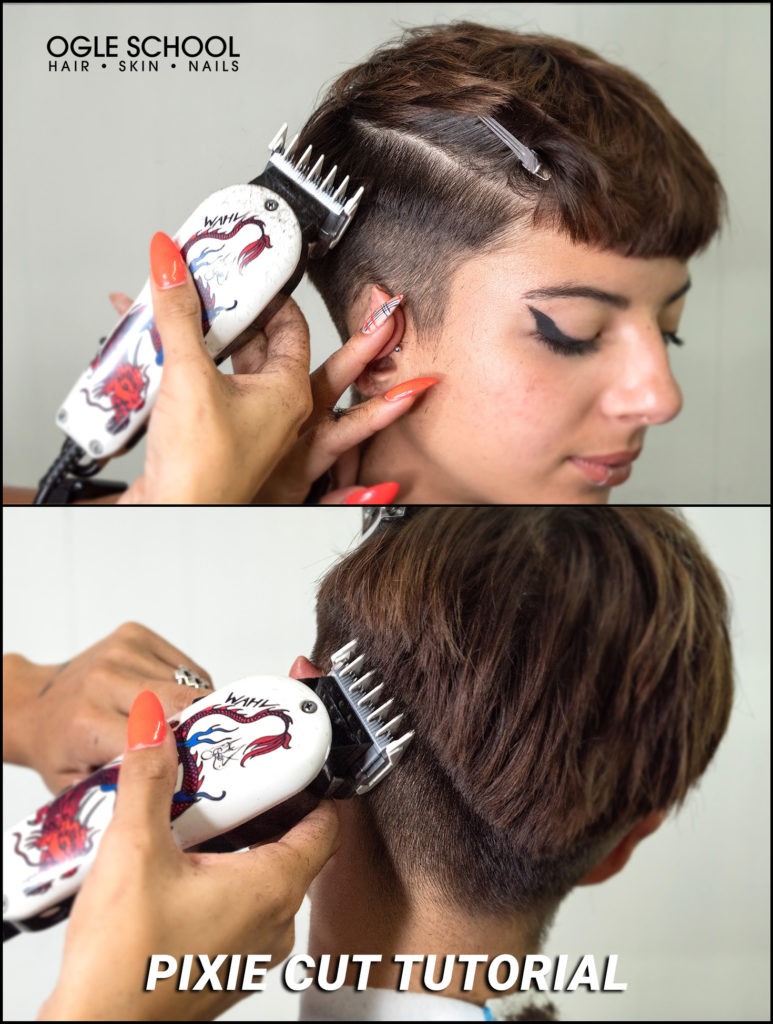
Step Two: Using a 1.5 comb, run the clippers down the lower part of the hair evenly.
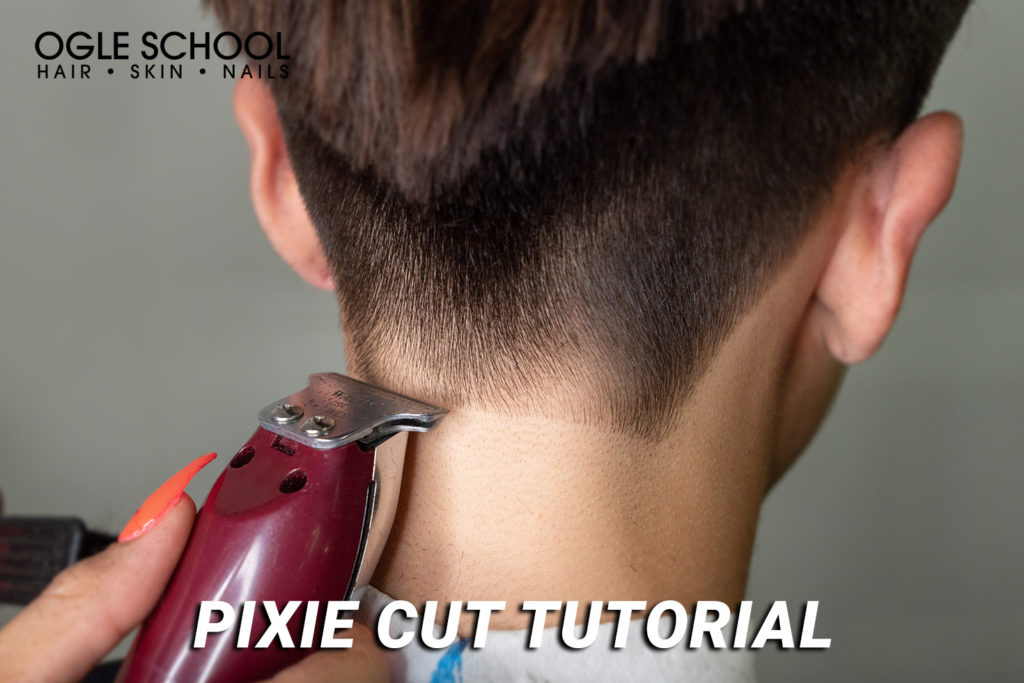
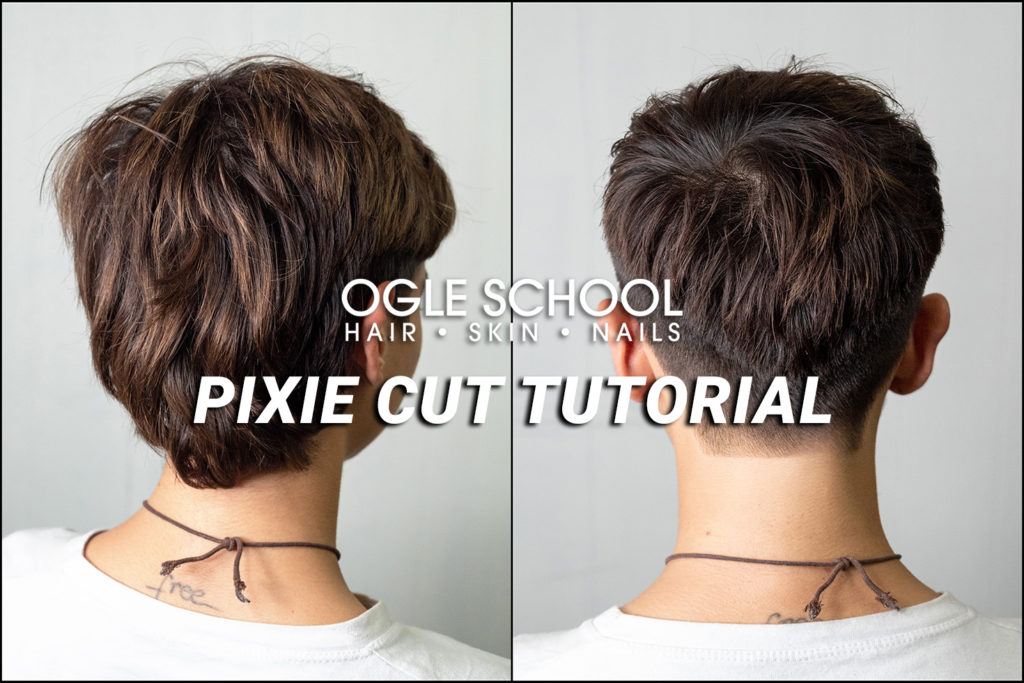
Step Three: Use a trimmer to outline, clean up the edges, and fade by slowly running the trimmer from the crown of your head to the base of your neck.
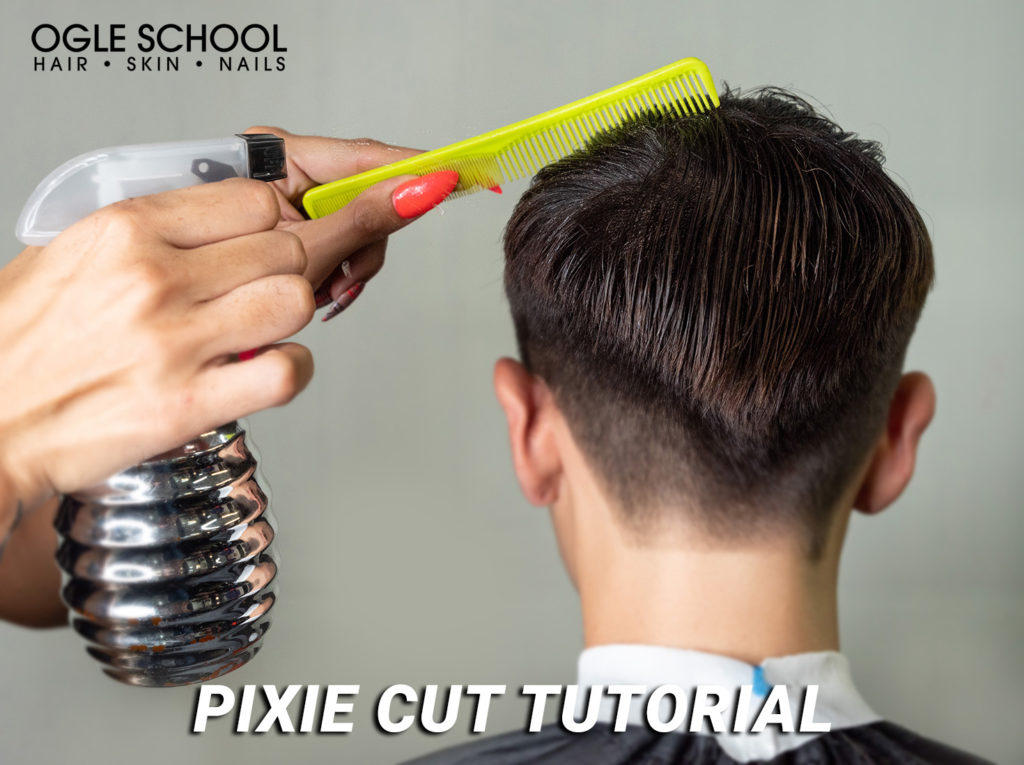
Step Four: Prep the top part of the hair by spritzing with water and combing the top of the hair forward.
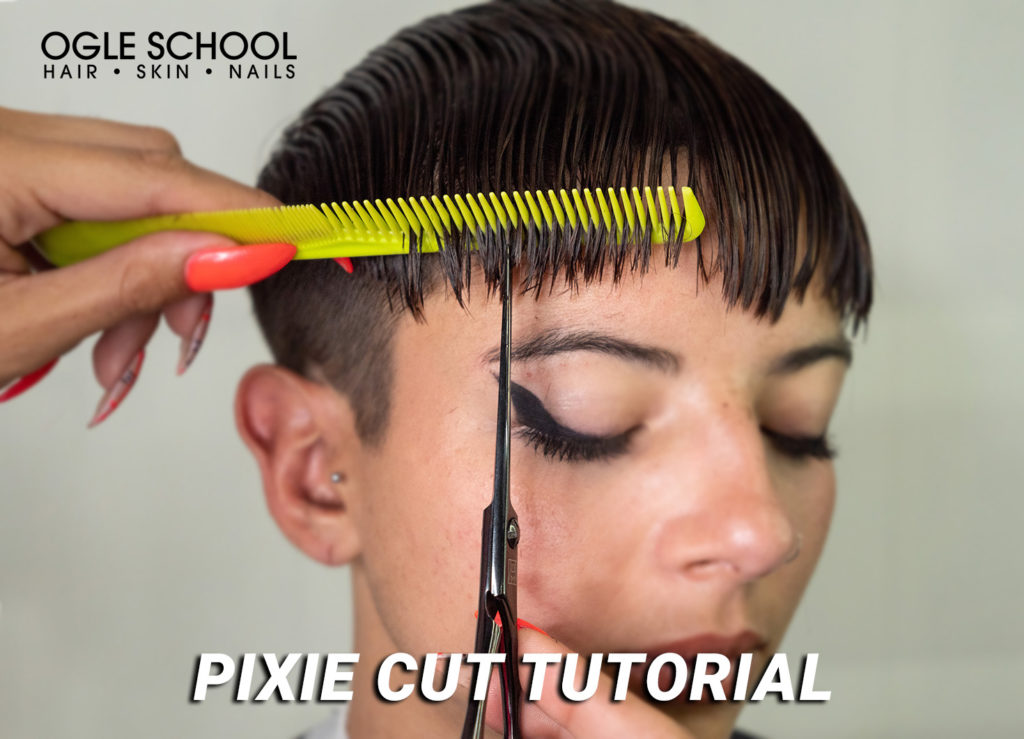
Step Five: Once you determine the length of the bangs using the eyebrow as a starting reference point, point cut the bangs with the point of the shears, holding the scissors vertically.
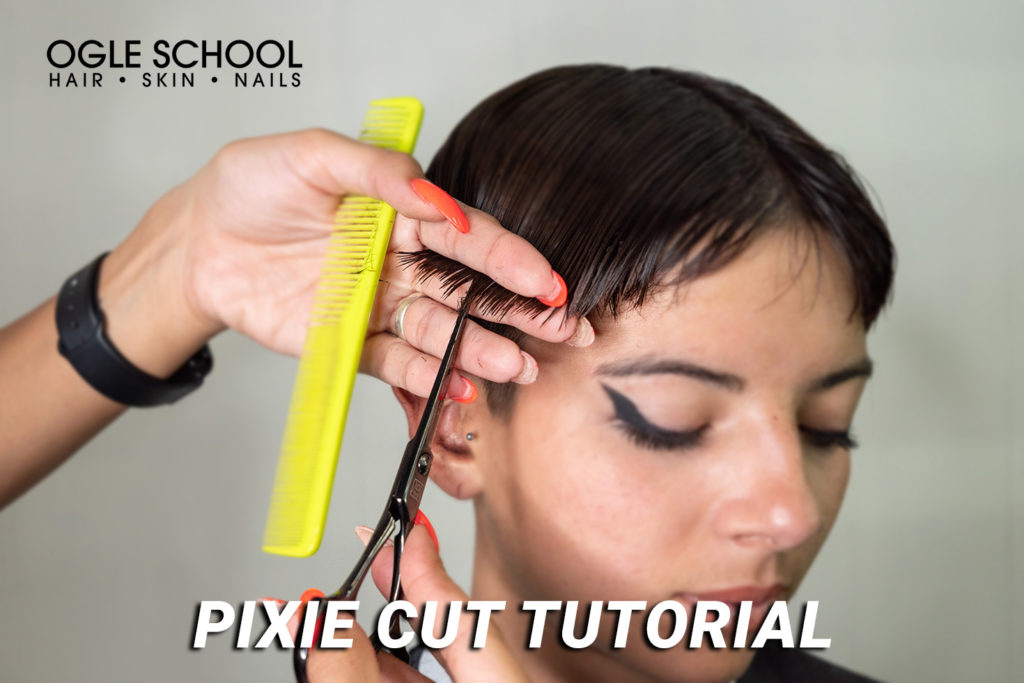
Step Six: Part the hair in the center. Point cut each side using small snips, blending the hair.
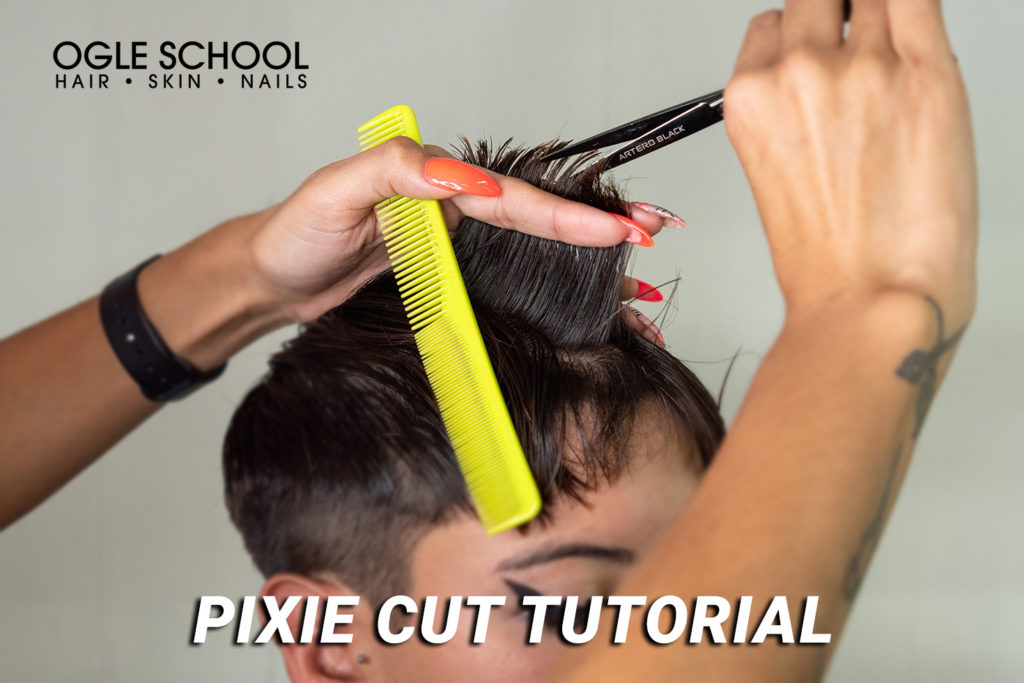
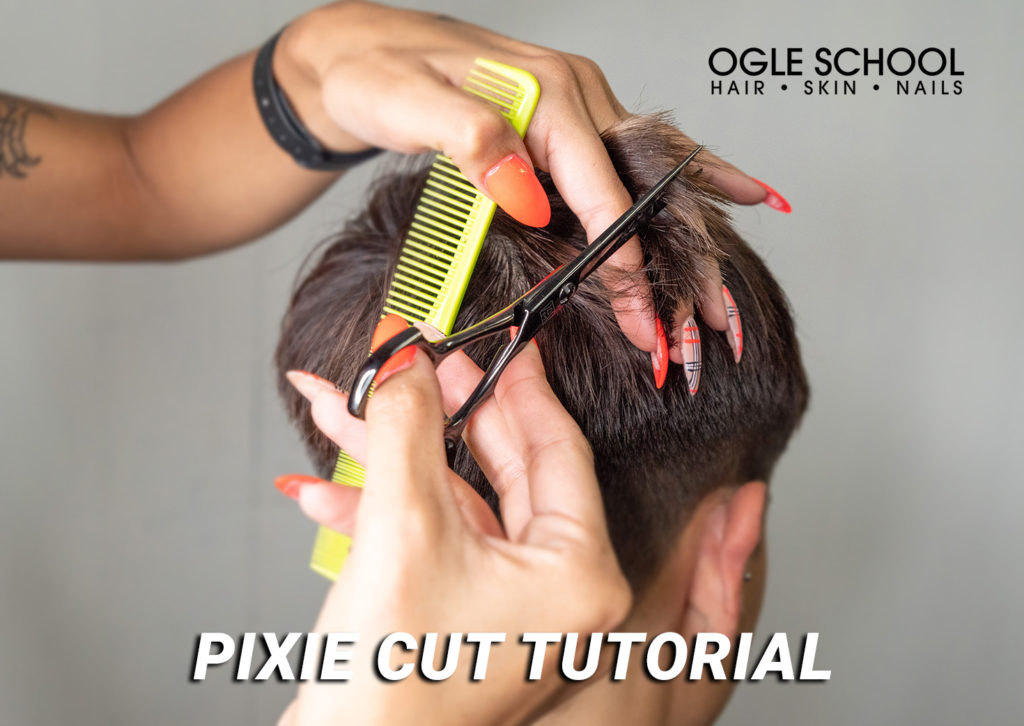
Step Seven: Create another section from the top of the head. Pinch the section of hair between the index finger and the middle finger, holding the section perpendicular to the head. Soften the hair with tiny snips while carving out the shape of the cut.
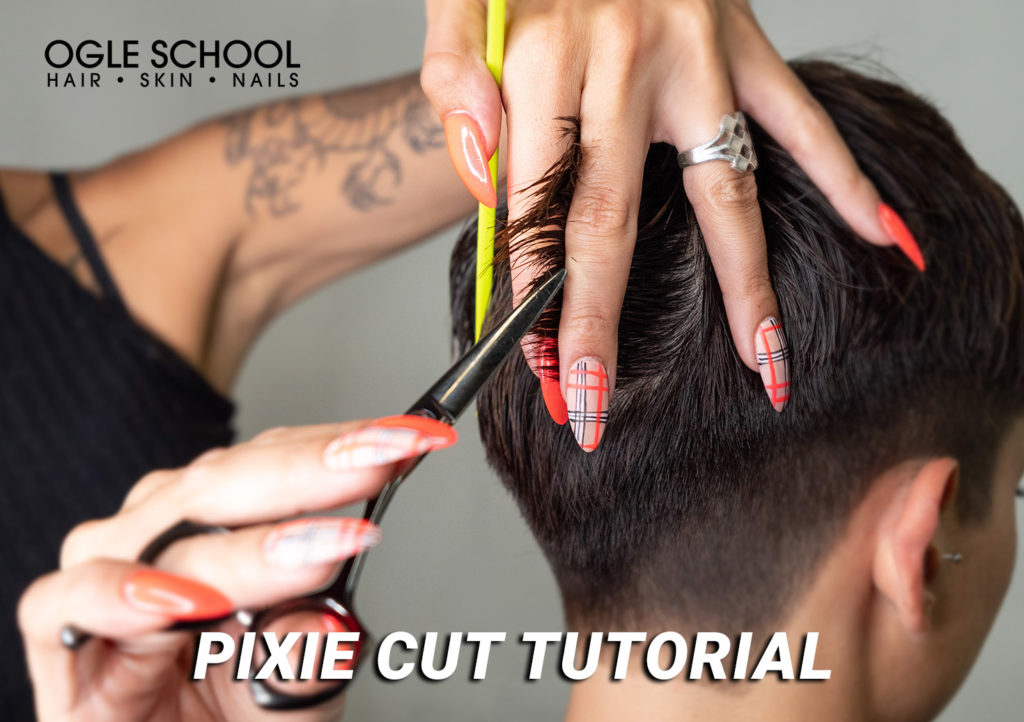
Step Eight: Pinch the section of hair in the back of the head and begin point-cutting little snips, blending the hair into the cut.
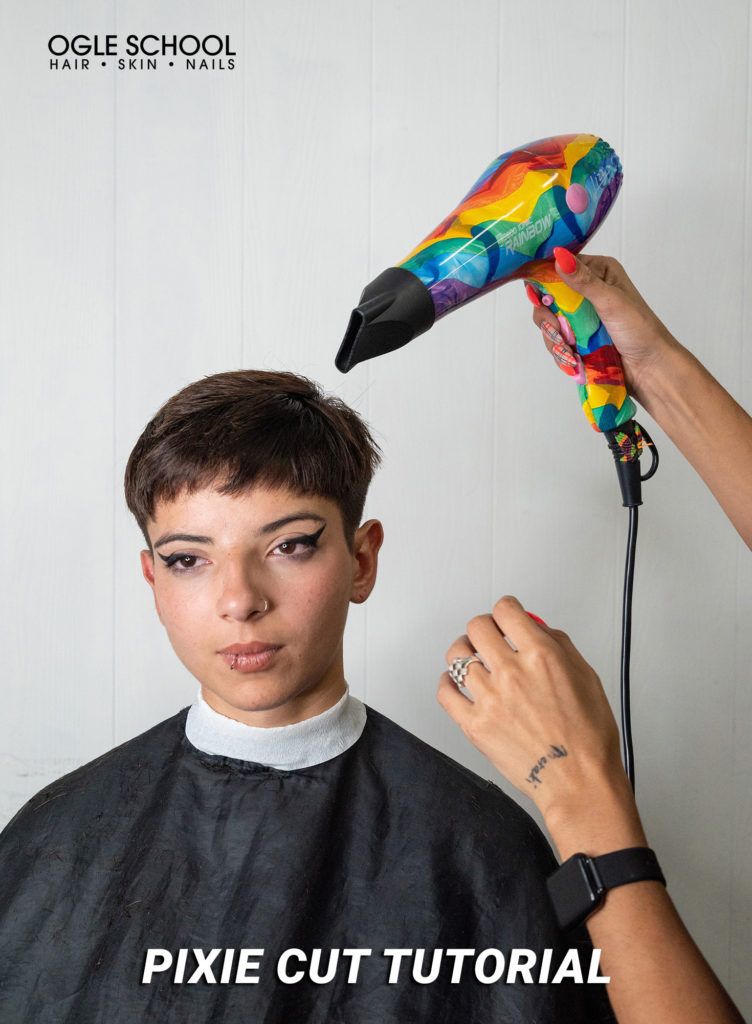
Step Nine: Style hair with a blow dryer.
Step Ten: Create texture with a shear slicing technique. Your hand position will determine the length of the haircut.
Step Eleven: Style and finish the hair with wax.
Check out Ogle School Blog for a variety of beauty tips on makeup, skin care hairstyles, and easy-to-follow tutorials.
Hair styled by Filosofia Peluqueria. Photography by Aylen Diaz.