While your bone structure determines your actual cheekbones, how your cheekbones look can depend on how you apply your makeup. By using the effective makeup contouring techniques that are described in this tutorial, you can seemingly alter your face shape and intensify your cheekbones.
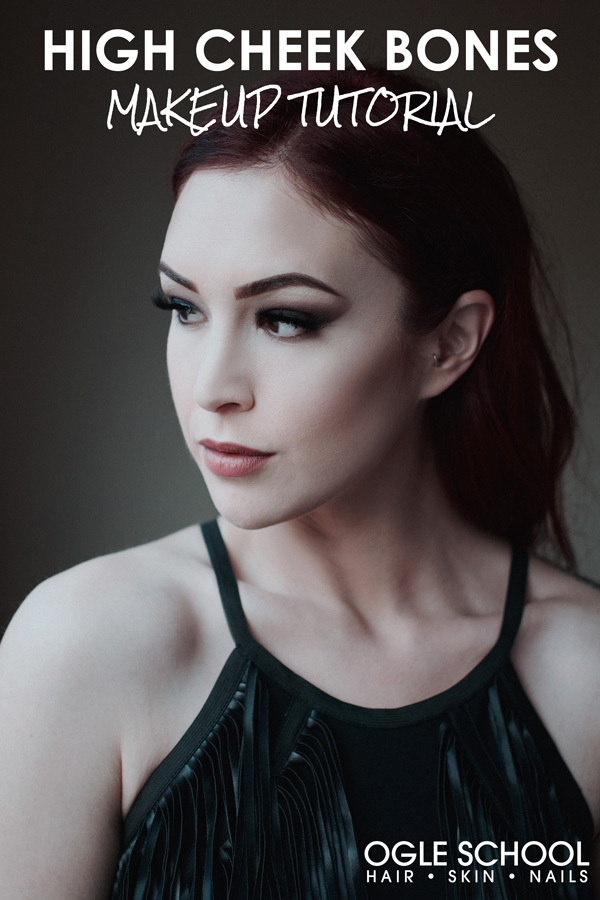
This high cheekbones look is perfect for a night out on the town or for whenever you’re in the mood for a dramatic flair.
Want to learn how to create high cheekbones using makeup? Below is the step-by-step tutorial that takes you through what products to use and how to use them.
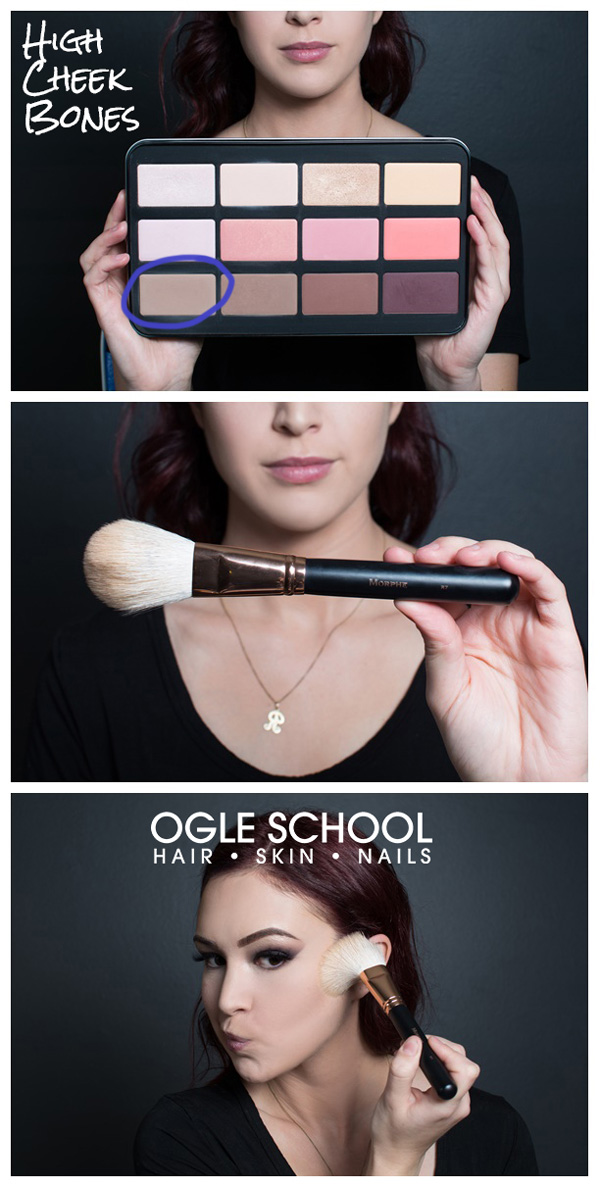
Bronzing: The first step is to start developing your face shape with a bronzer. Using a light tan color, such as the one circled above in the Makeup Forever Lustrous Blush Palette, bronze the perimeter of the face using a large, fluffy brush like the Morphe R7. Then add bronzer to the hollows of the cheeks, the temples, forehead, and underneath the jawline.
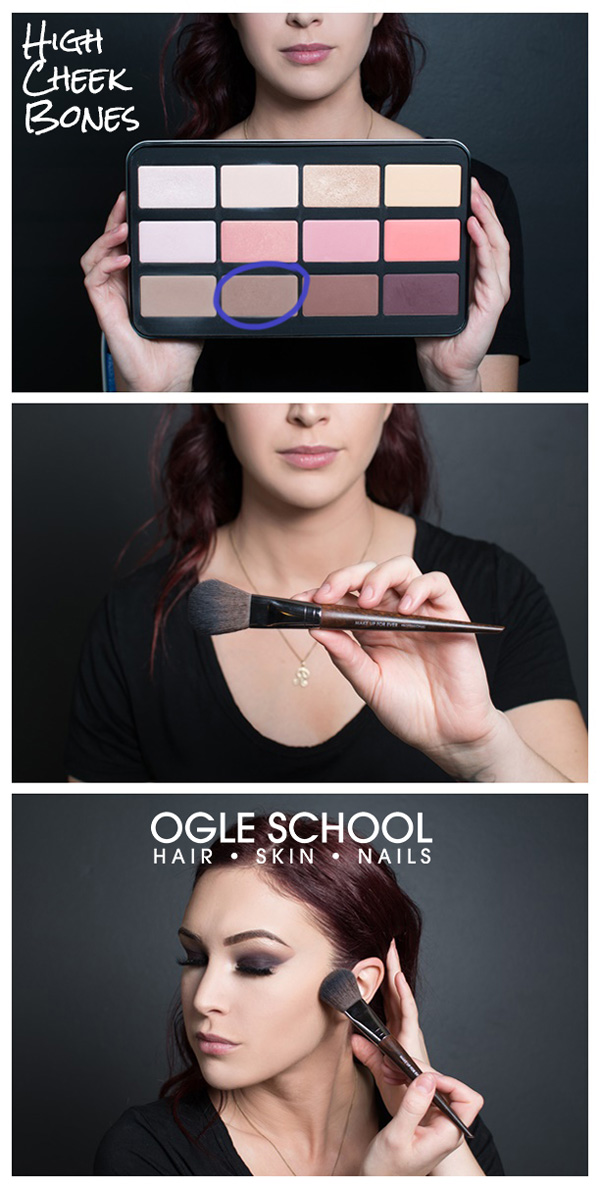
Contouring: In this contouring step, you’re beginning to add definition to your cheekbones. Using a bush such as the Makeup Forever 156 brush and a powder that’s a slightly darker shade than your bronzer, carve out the hollows of the cheeks angling from the top of the ear down towards the corner of the mouth. The shape and angle are important here. To make sure that you’ve got it right, work lightly at first, and then build up color as you go.
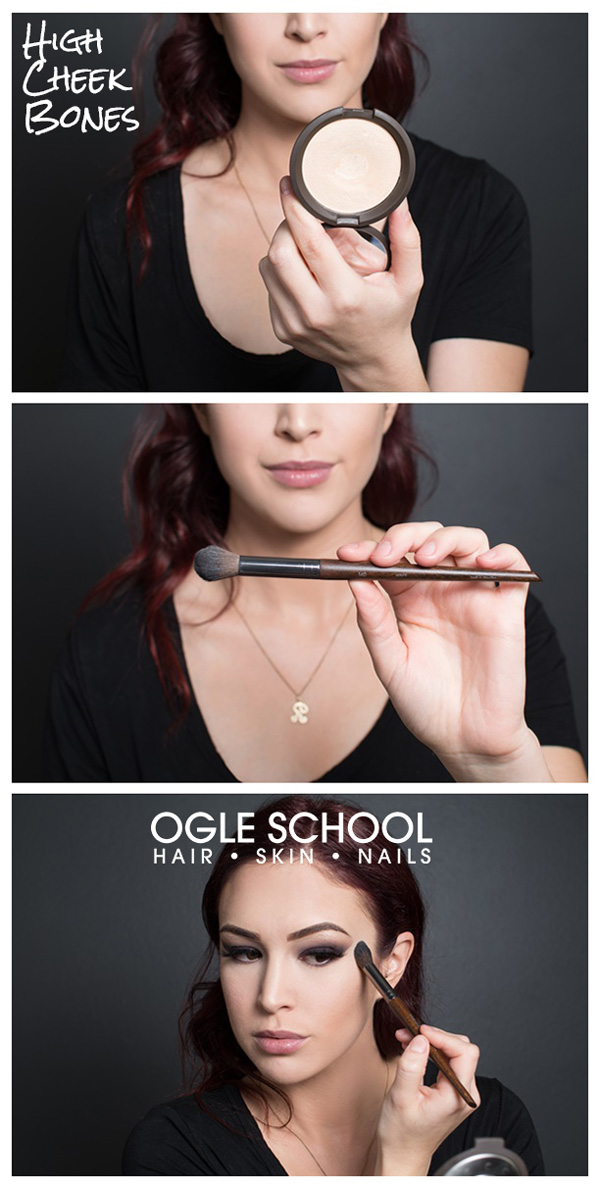
Highlighting: When creating the look of high cheekbones, it’s not enough to just add darker tones to create shadows. You must also add lighter shades to emphasize the form of your cheekbones. Switch to a smaller highlighting brush such as the Makeup Forever 140. Add highlighter to the very top of the cheek using a product such as Becca Cosmetics “Moonstone” Highlighter applied in a half circle formation from the tail of the brow to underneath the outer corner of the eye.
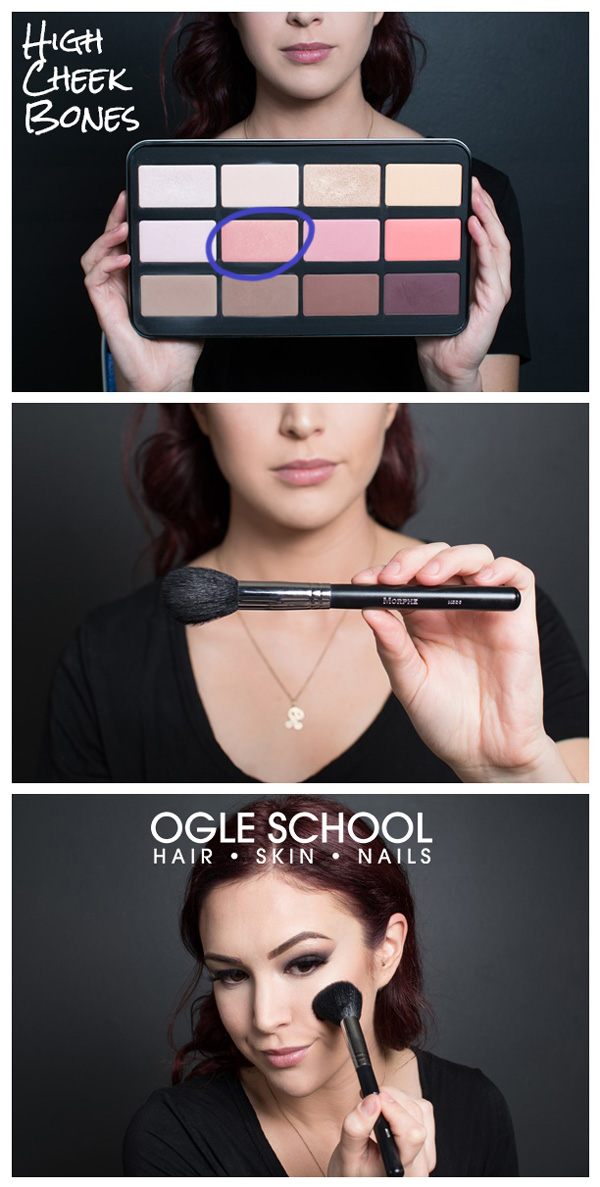
Blush: Now, bring in a rosy tone to your cheeks with a light colored blush such as the one circled in the photo above from the Makeup Forever Lustrous Blush Palette. Using a Morphe M556 brush, apply the blush to the apples of the cheeks and underneath the highlight. Then blend together the three tones of the blush, contour, and highlight so that the makeup is seamless.
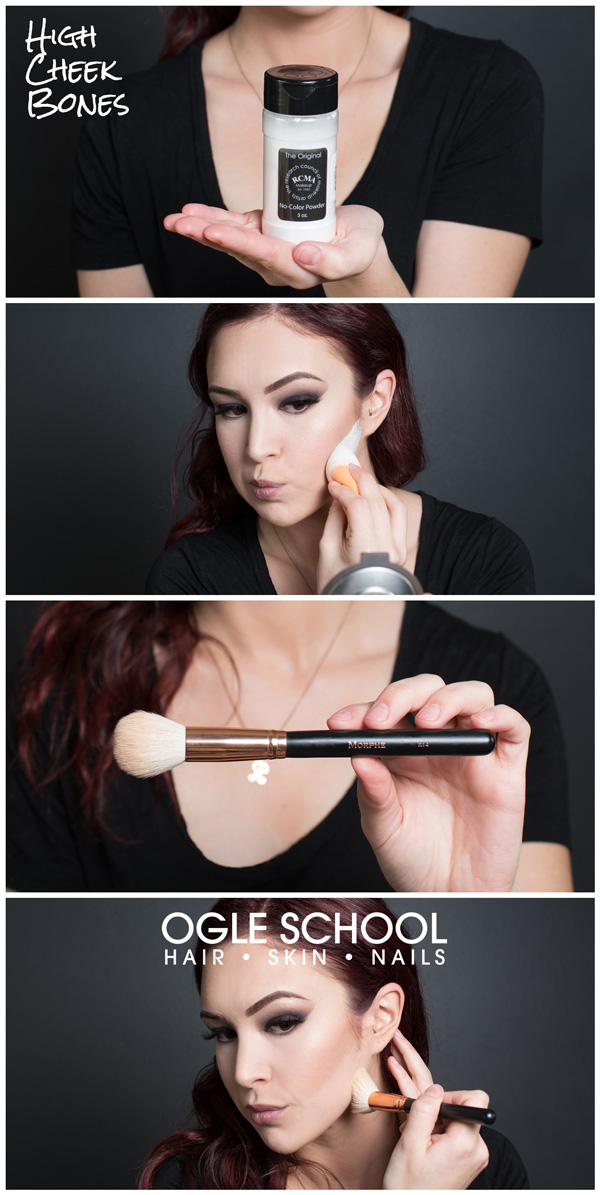
Clean-Up: Sharpen the look by first using a damp beauty sponge to draw a line directly under the contour. Then finish by dusting the area with translucent powder such as RCMA No Color Powder, applied using a Morphe R14 brush.
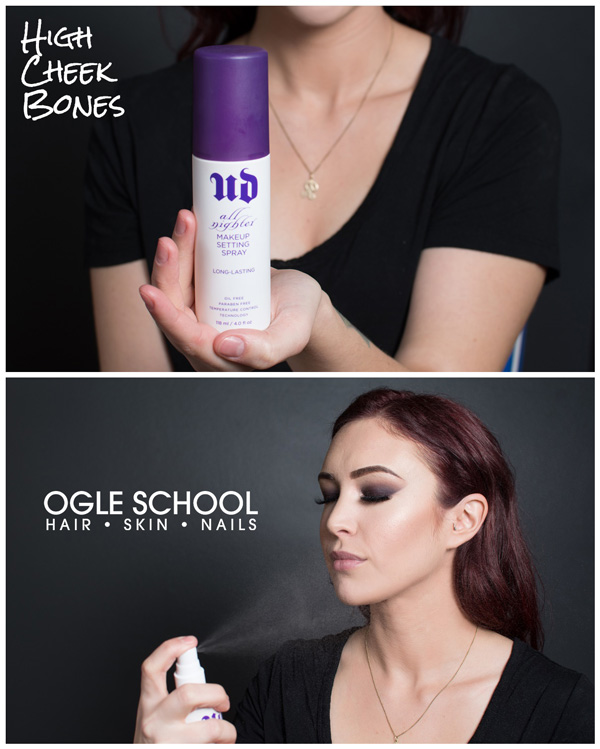
Setting In Place: Lastly, set your makeup by using a finishing spray such as Urban Decay All Nighter Setting Spray. This will ensure that your look stays in place all day and all night.
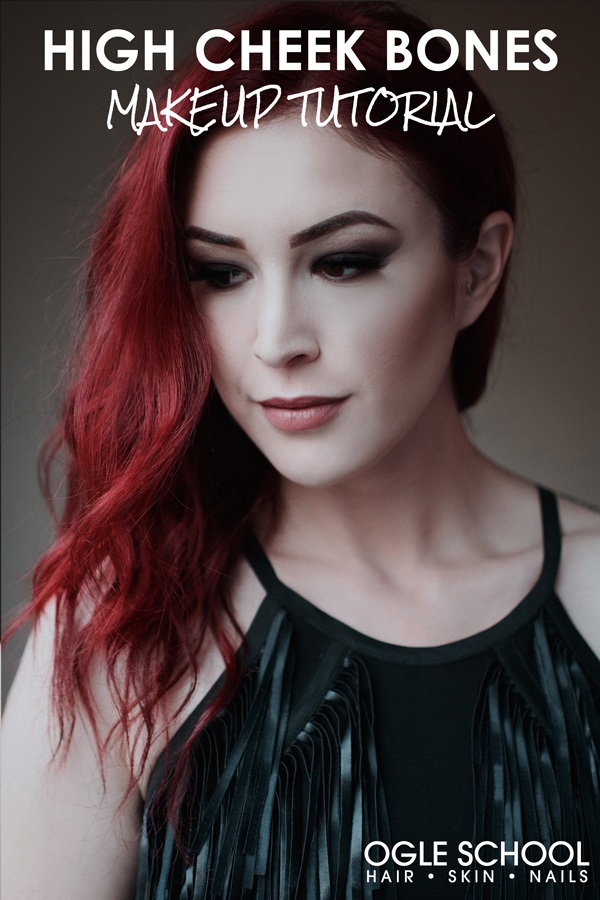
When your makeup looks this good, you may want to go pro and master the business of beauty with Ogle School’s Cosmetology Program. Completed in as little as 11 months, students go on to have strong careers in the beauty industry.


