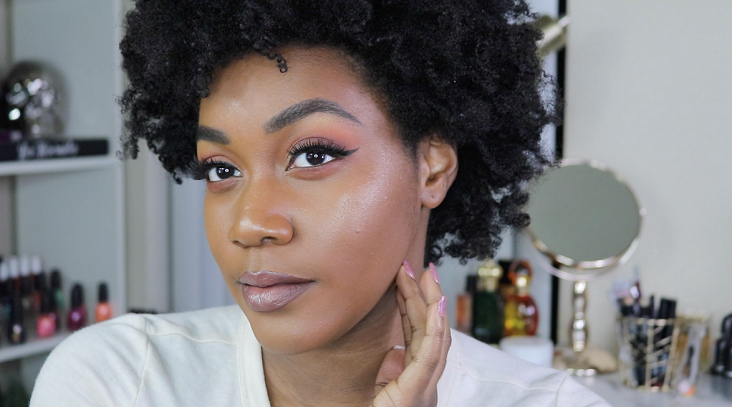
What is the secret to flawless, airbrushed complexion makeup? We have a step-by-step guide for beginners on how to achieve complexion makeup so amazing that you won’t even need an Instagram filter!
Step One | Start with Primer
Always prime the skin with a primer before applying makeup! Not only does it help protect your lovely canvas, but it can improve the wear of the concealer and foundation you choose. There are primers available for hydrating, mattifying, radiance and many other finishes that you may desire for your looks.
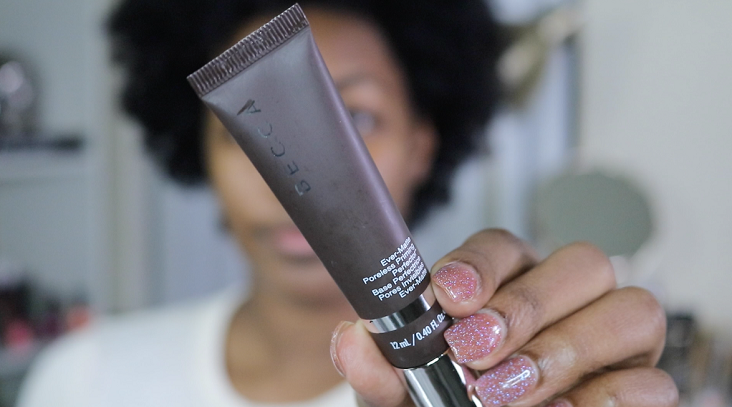
To keep our look as shine-free as possible, we’re using the Becca Poreless Matte Perfecting Primer in areas where oil tends to peek through the most.
Step Two | Add Custom Drops
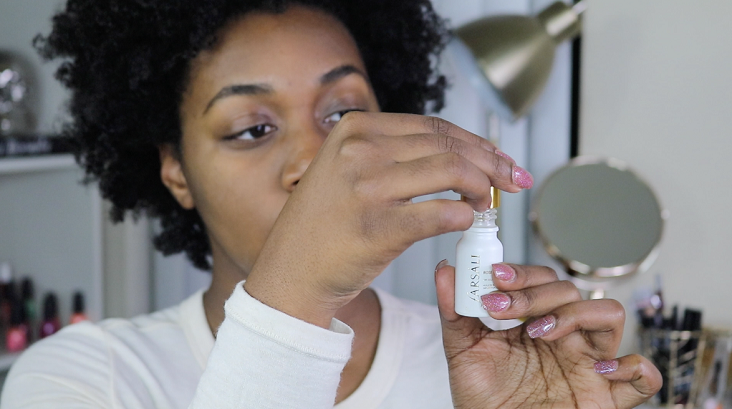
Give yourself a natural glow with custom drops! There are different shades and colors available to best fit your skin tone that can be applied directly to the skin before foundation or they can be mixed into foundation to create a luminous glow that appears to come from the skin.
For medium to deeper skin, try a gold or rose gold. For fair skin tones, try a pink, blue or purple.
Step Three | Even & Conceal the Base
First, apply a concealer in your shade to any areas where there may be hyperpigmentation or uneven tones. This will help create a great base for your foundation and you may not need as much foundation, so you will achieve a more natural look. Try using a cream concealer for a skin-like finish.
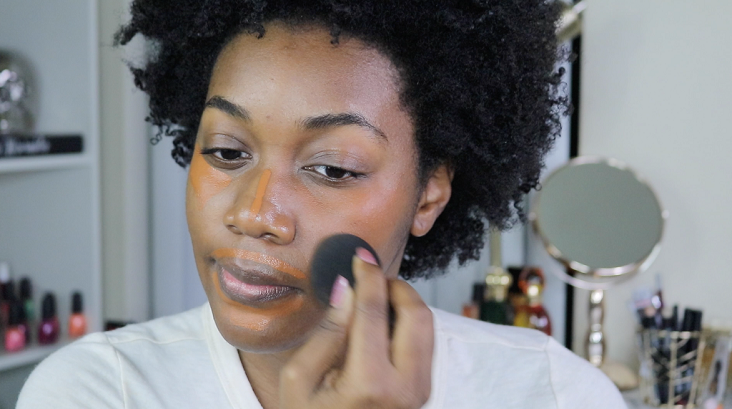
Step Four | Medium to Full Coverage Foundation
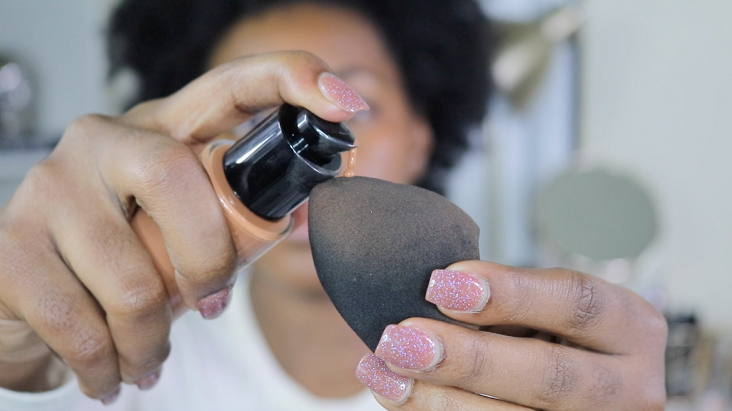
Depending on your skin and personal preferences, go for a medium to full coverage foundation to achieve an airbrushed look. One to two applications should be sufficient, but you may build to your desired finish. To avoid unwanted streaks in the foundation, use a damp blending sponge rather than a foundation brush.
Step Five | Show The Light with Highlight
To highlight with concealer, go up approximately two shades and apply in spots where the light hits the face naturally. This is usually the: center of the forehead, bridge of the nose (more prominent at the tip), along the cheekbones, cupid’s bow and in the center of the chin.
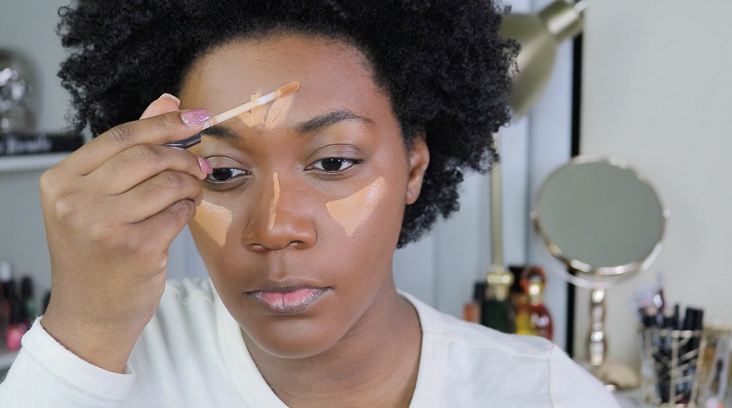
If you need help figuring out where those places would be for your face and shape, turn on the light and tilt your head in various direction to get an idea.
Step Six | Set with Translucent Powder
Now that you’re finished with concealer, foundation and highlight, keep it in place! Set your hard work with translucent powder. There are setting powders available in a variety of shades, but translucent works for all skin tones and doesn’t leave a white cast on the skin.
This will also help reduce creasing and wearing away during the day.
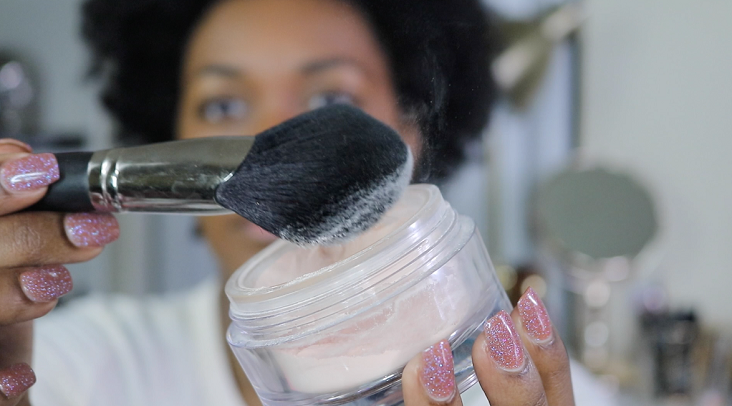
Step Seven | Get The Glow
Dust a pressed highlighter along the areas you highlighted with concealer to really kick up the glow! A pressed powder highlighter will be much more prominent. Use a dome highlight brush to apply rather than a fan brush if you’re a beginner —fan brushes can cause streaks if you’re not used to working with them. A few light strokes should be enough; however, if you’d like to build your glow, add more product.
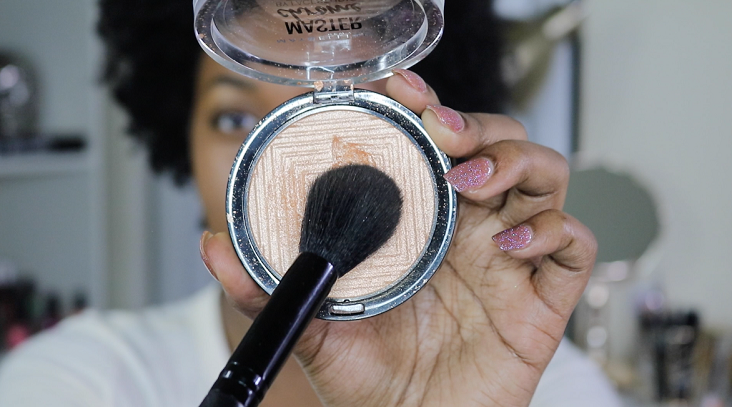
Tip: Mist your brush with a setting spray and pick up product to apply. The setting spray will help make your glow more noticeable in just one stroke!
Step Eight | Light, Natural Contour
Warm up your face and shape with a light, natural contour. The extreme contouring trend has faded, but you can still sweep a neutral blush or contour formula to create a soft shape.
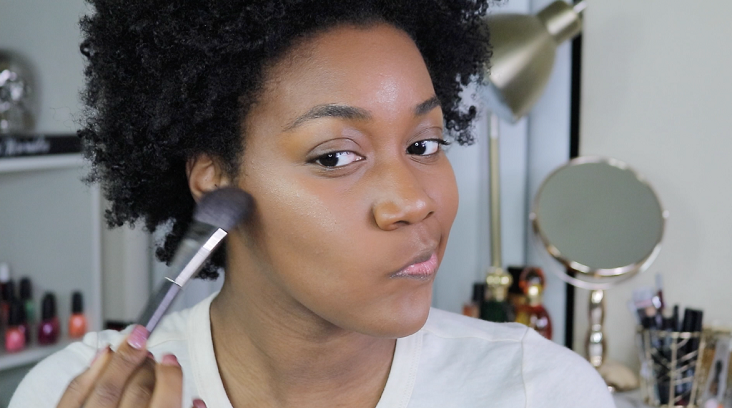
Step Nine | Dewy Finish
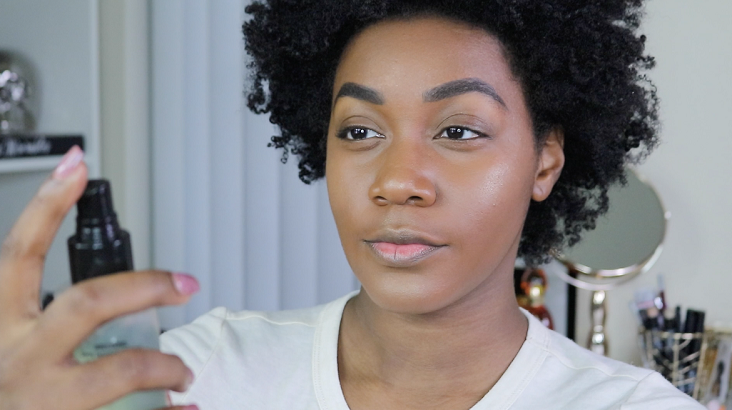
Once you have completed your entire makeup look including eyes and lips, be sure to set your complexion in place with a setting spray for a dewy finish. Hold the spray approximately 6-8 inches away from your face, close your eyes and mist your entire face. There are also matte and oil-free setting spray options as well for those with oily skin.
