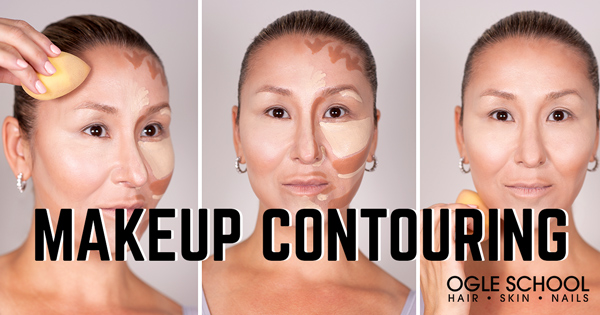
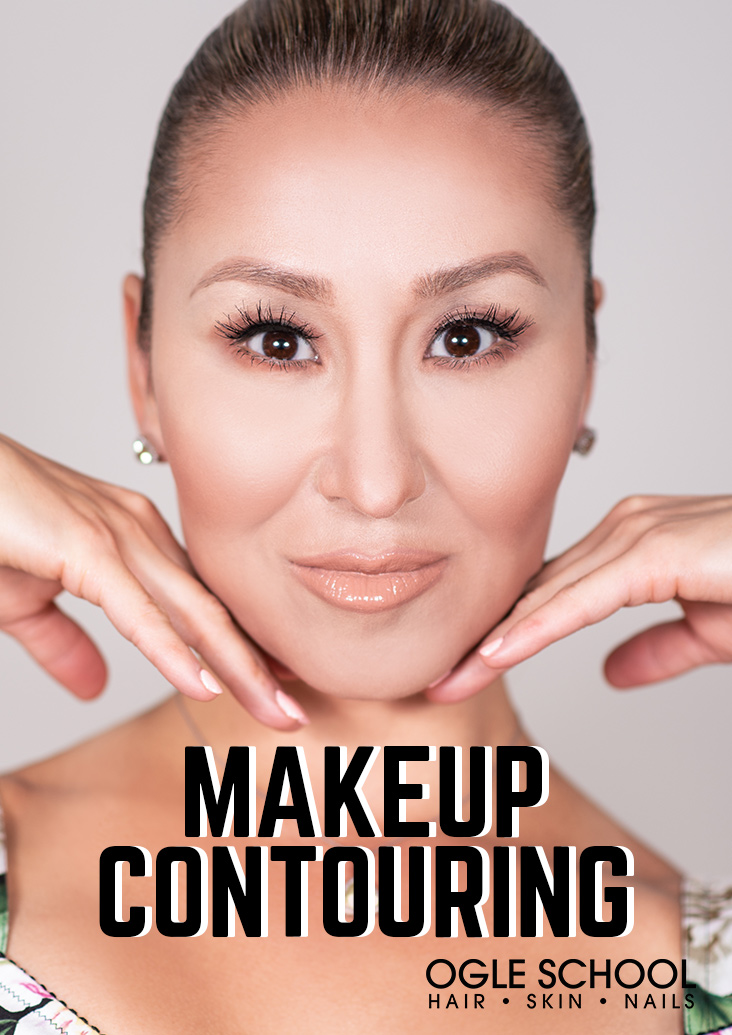
Contouring can help you enhance your facial features. By using skin shading that’s one step darker and one step lighter, you have the power to create high cheekbones or to create a slimming effect by adding shadows along your jawline.
The contouring makeup technique was used by old-time Hollywood stars including Audrey Hepburn and Marilyn Monroe. On the other hand, it’s also been used by drag queens to accentuate features and create style.
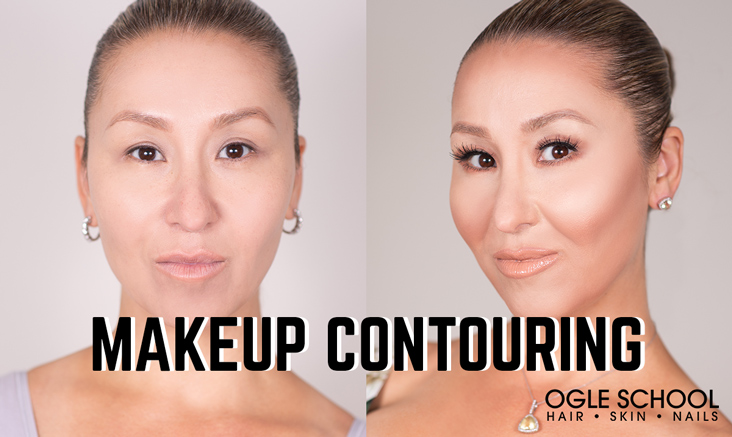
In the before and after photo, you can see the beautiful results that you can achieve.
In the step-by-step tutorial, we’ll walk you through the process of how to contour, what products to use, and techniques you can try.
Step 1: Moisturize
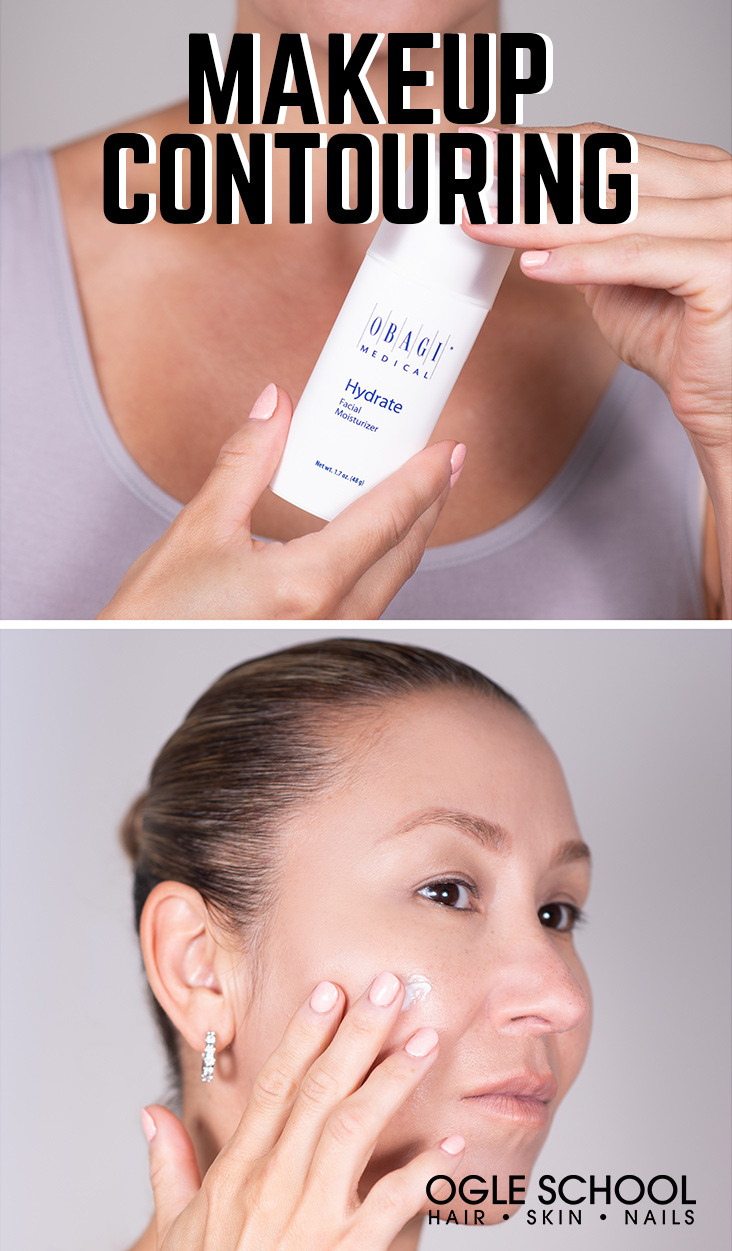
Always start by moisturizing your skin before you apply any makeup. Not only is it a smart anti-aging routine, but it’ll also keep your skin hydrated throughout the day. Here, we use Obagi Hydrate for dry skin.
Step 2: Apply Foundation
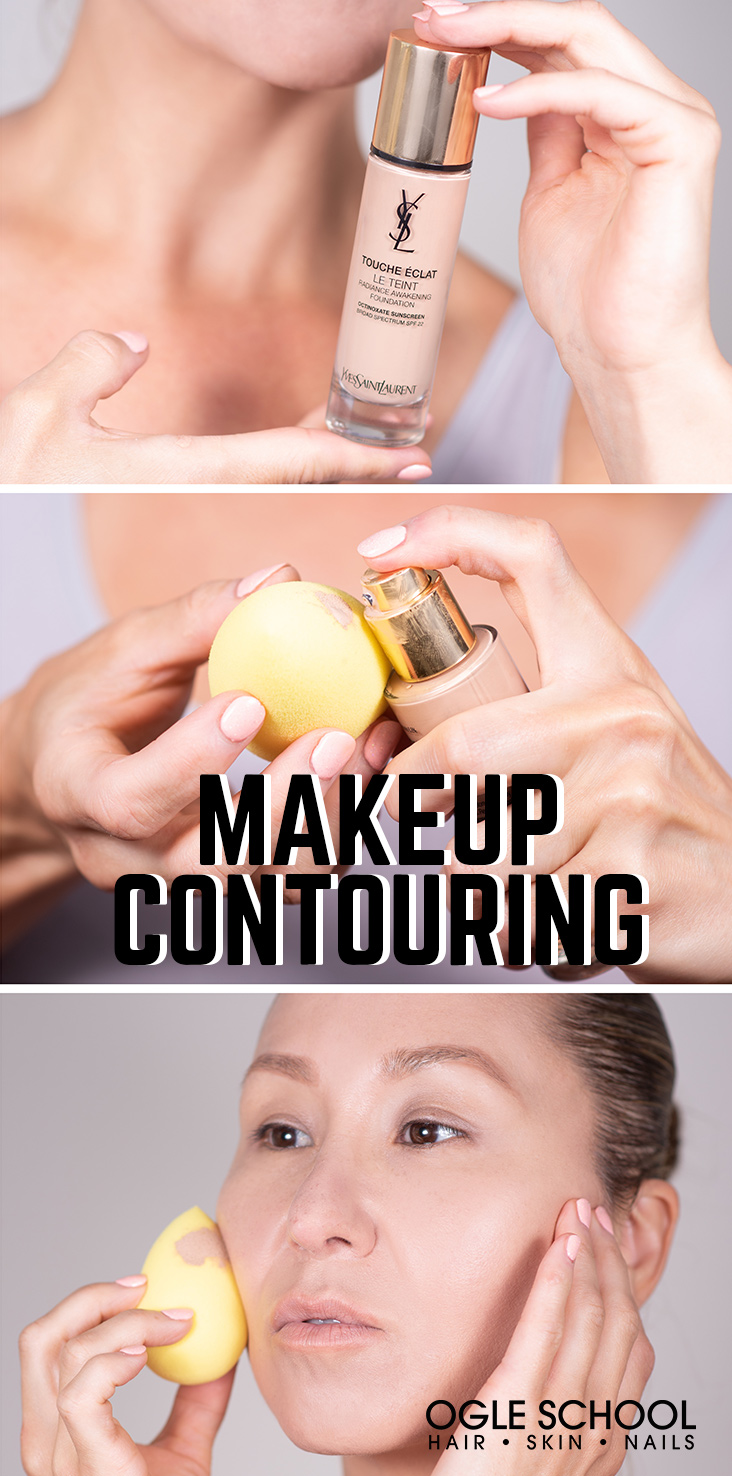
Use a liquid foundation all over your face to create a smooth and even base. Use a product that matches your skin tone, such as Radiance Awakening Foundation from Yves Saint Laurent. Be sure to blend well.
Step 3. Establish Highlights
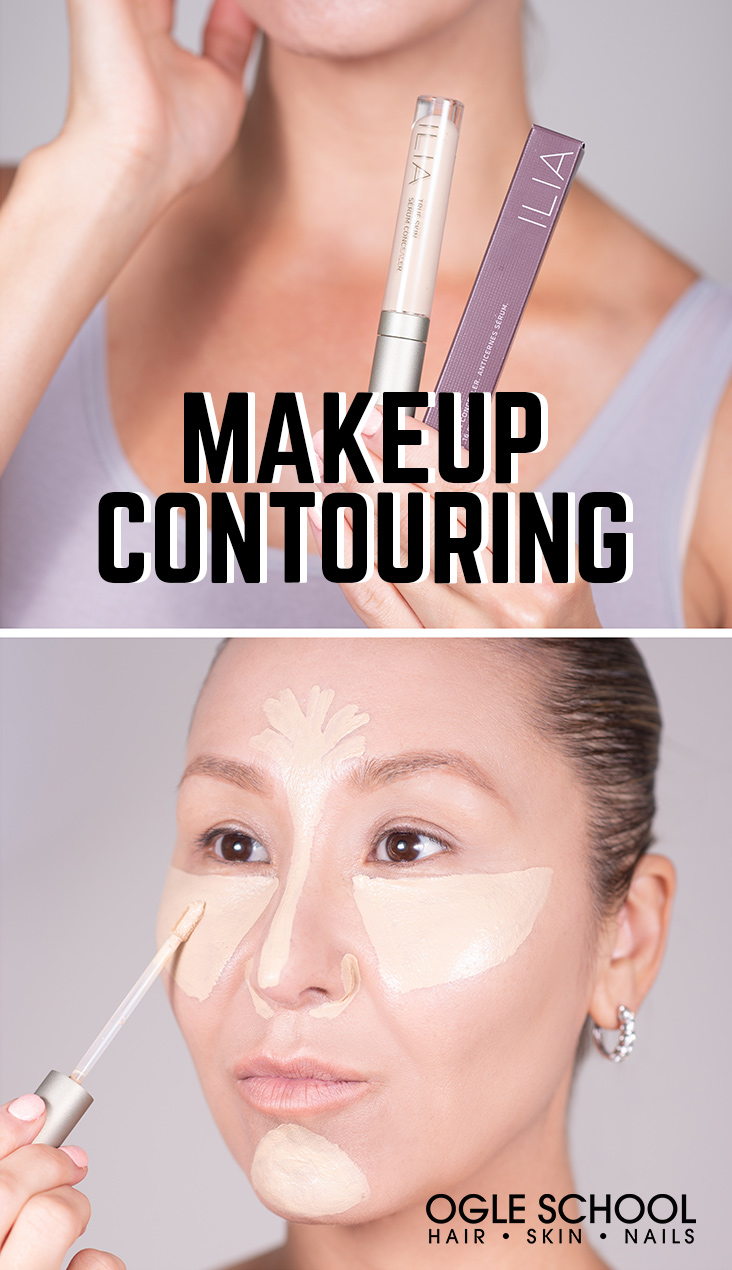
In this step, you start to work with your facial structure to define areas that you want to highlight or bring forward. In this contouring application scheme, we created large blocks of a lighter tone starting below the eyes and extending to the midline of the cheekbones. We also highlighted the centerline of the nose, center of the brow, chin, and nose edges. LIA’s True Skin Serum Concealer gave us the strong coverage for a bright highlight.
Step 4. Build Shadows
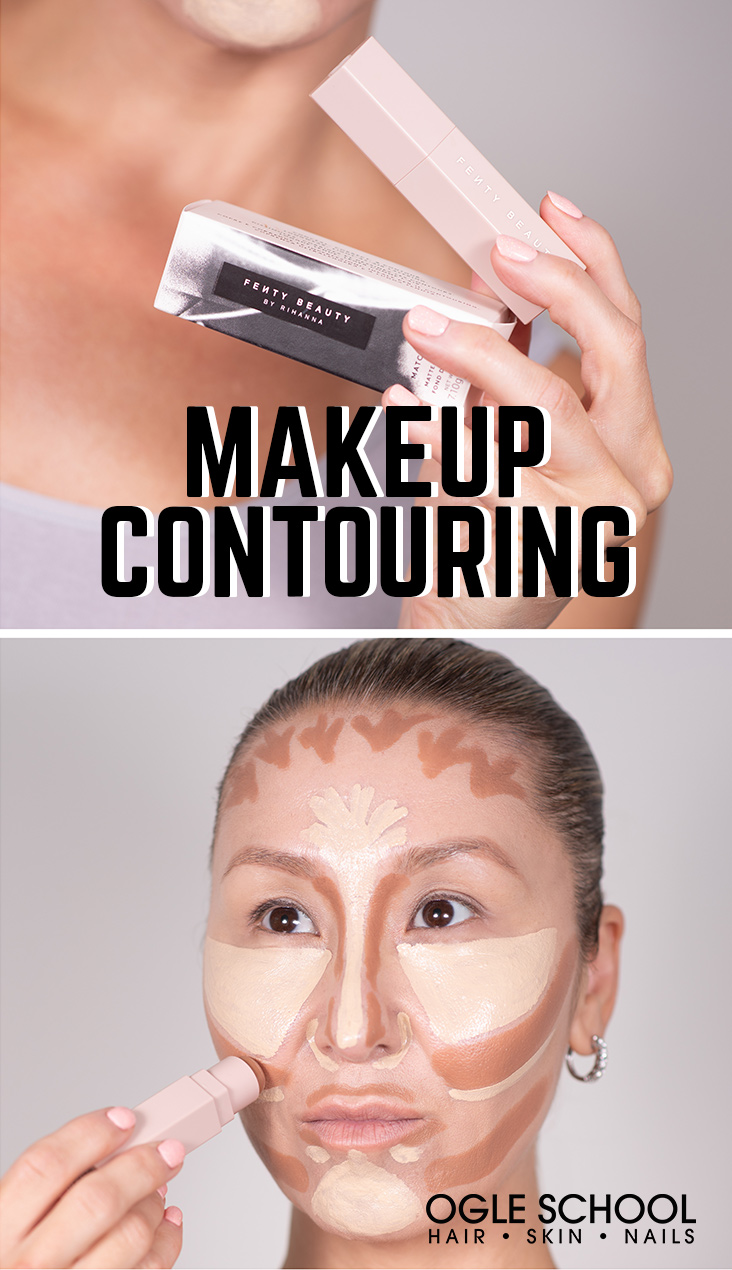
Now, add a darker tone directly next to the lighter tones. This contrast of highlights and shadows is what creates the illusion of shape. Add streaks along the hollows of the cheekbones, sides of the nose, jawline, and along the hairline. Here, we use Match Stix Matte Skinstick from Rihanna’s Fenty Beauty.
Step 5. Blend for a Smooth Skin Tone
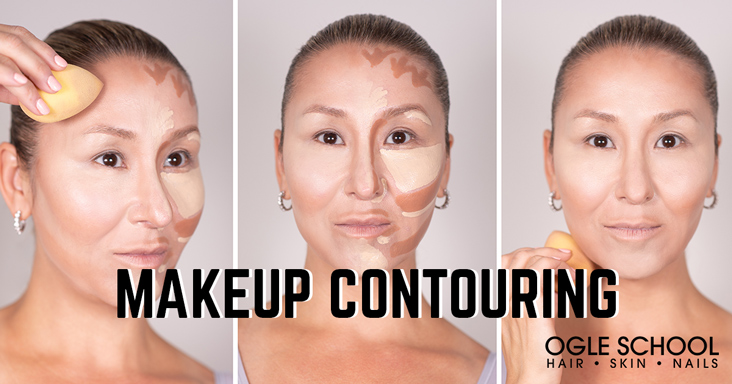
Using a blender sponge, dab in small circles to create a smooth transition between your two colors. Work slowly, and be careful that you don’t overwork your blending. The goal is to create a smooth gradient without flattening out your highlights and shadows.
Step 6. Dust to Finish
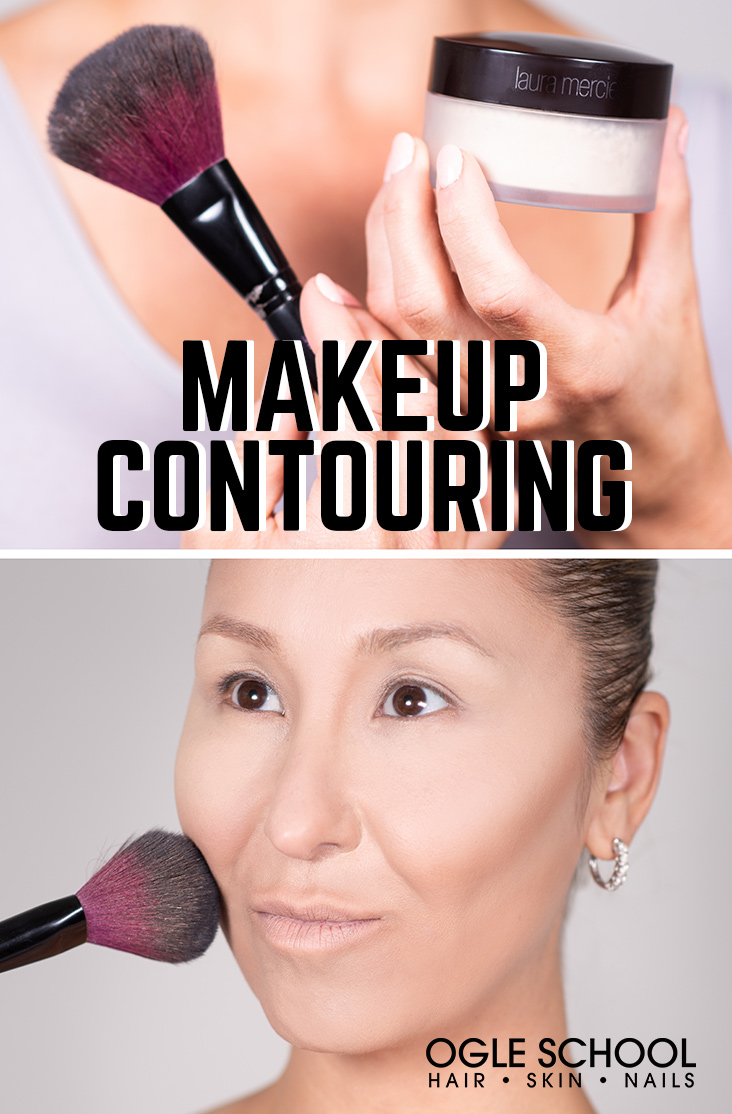
Lock in your contouring using a Translucent Loose Setting Powder like this one from Laura Mercier. The lightweight finishing powder will reduce shine while setting your contouring gradients.
Now, you’re ready to finish the rest of your makeup, including eyes, lips, and brows. Don’t be afraid to use contrasts in your overall look. For example, high-gloss lips can complement your matte facial contouring.
This contour makeup tutorial for beginners shows you just how easy it is to get the look of a professional makeup artist. If you’re ready to take your makeup skills to the next level, find out how you can go pro with the Esthetics Program from Ogle School, which can be completed in as little as six months.


